
膠條拐點高度及平面度檢測
專案簡介
專案背景
隨著汽車廠商對輪胎質量愈來愈嚴格的要求,輪胎製造廠家迫切需要速度快、操作簡單、精度高的測量裝置,可以線上使用,減少停機時間停機時間,可以最大程度地避免錯誤不良品的發生。
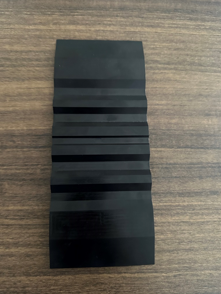
相機選型
LMI雷射線掃相機 Gocator2350
檢測要求
測量精度 ≤ 0.03mm
測量重複性 ≤ 0.02mm
測量週期 ≤ 3s
解決方案
Vision-Studio同時可以處理輪廓與點雲,通過點雲圖找到拐點位置從而計算體積,測量高度;提取截面輪廓進行截面積測量。
設計思路
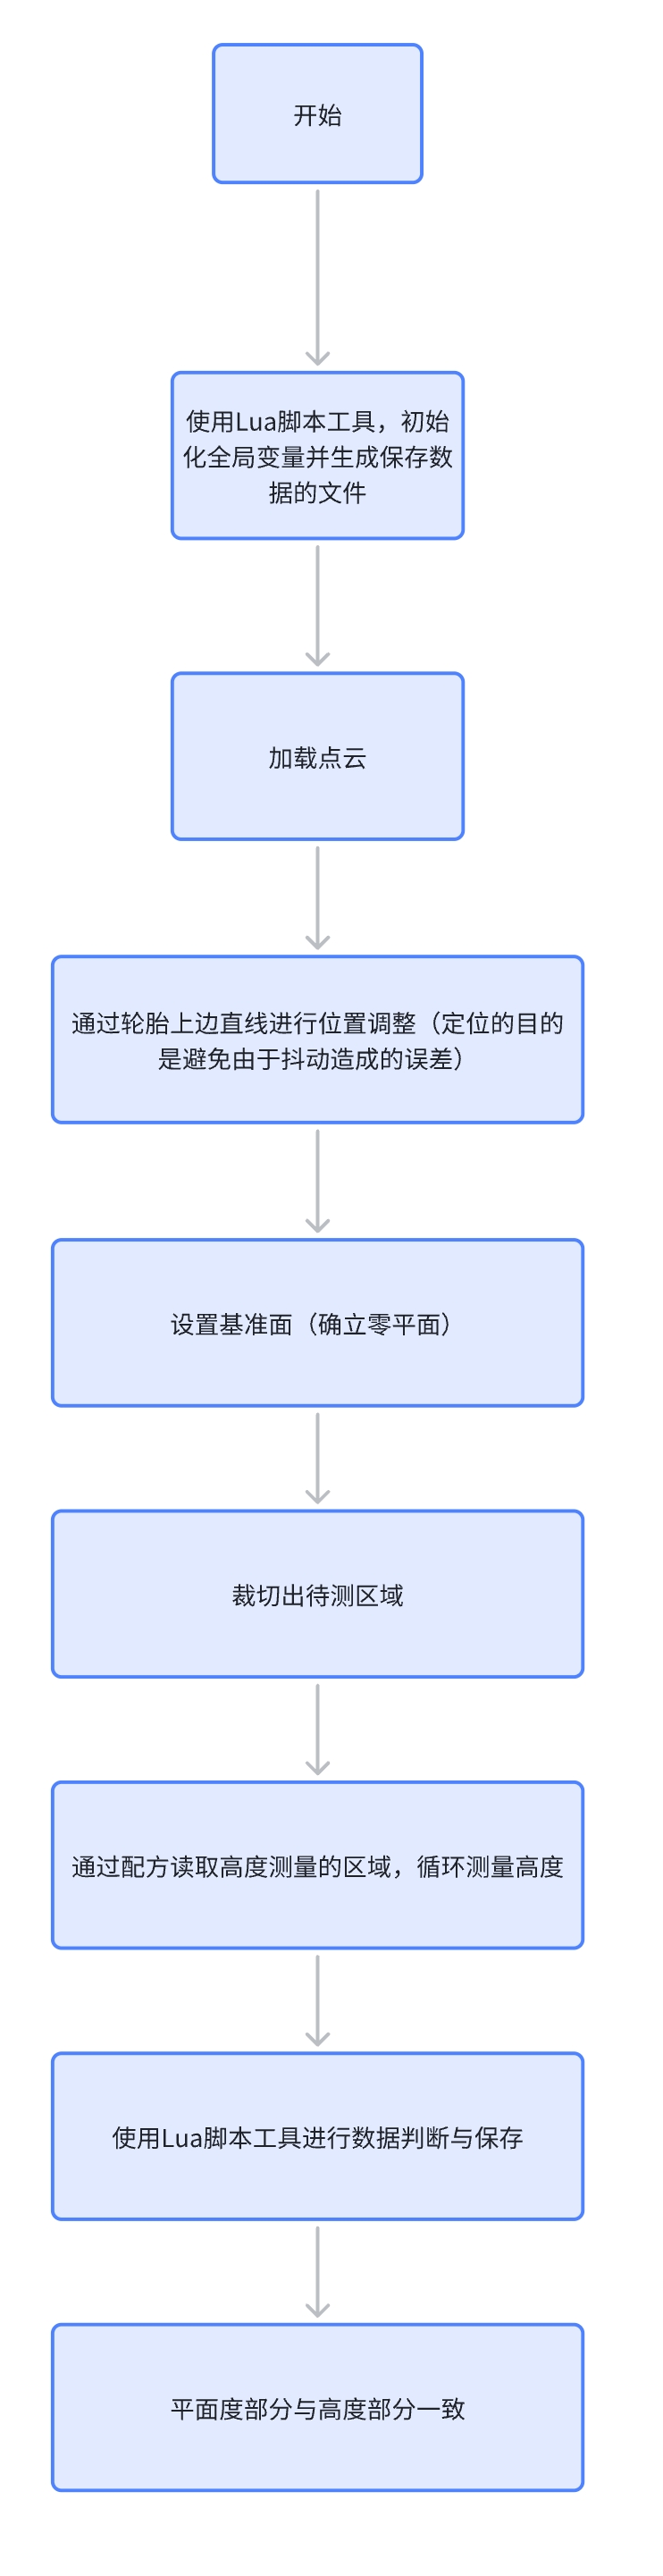
執行效果展示
工程結果展示:
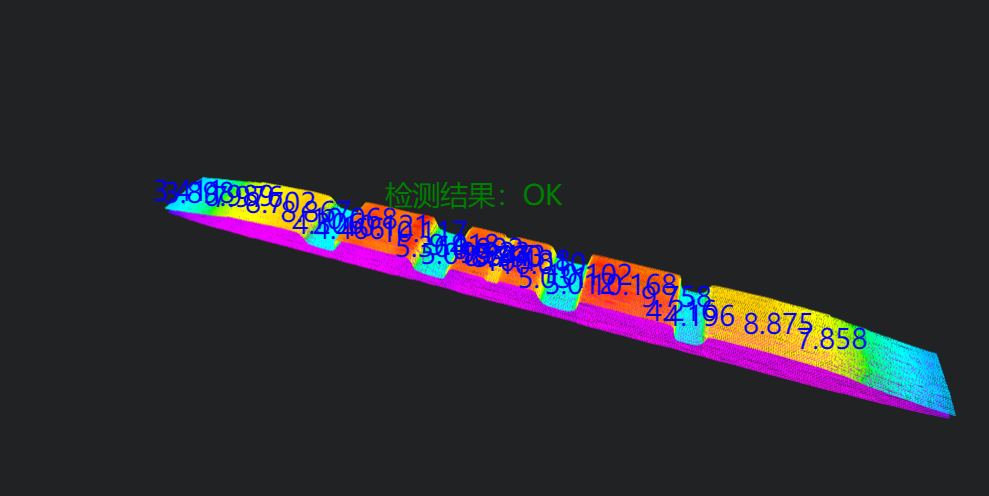
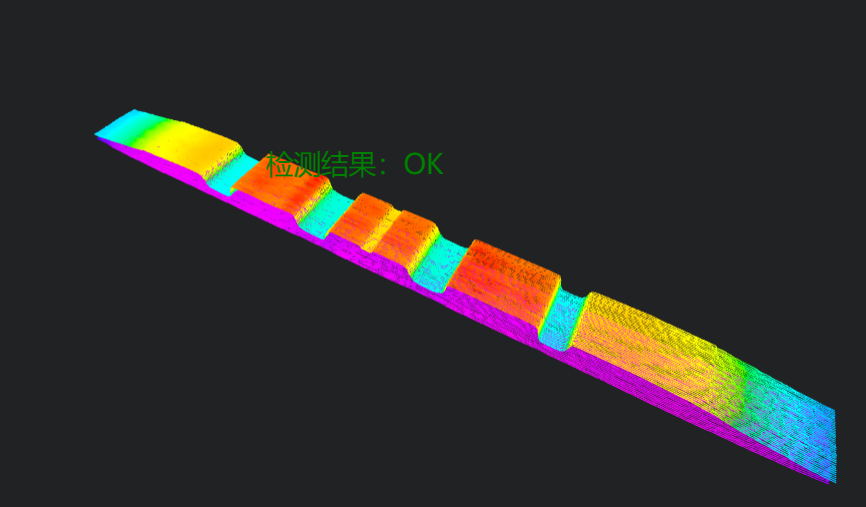
HMI結果展示:
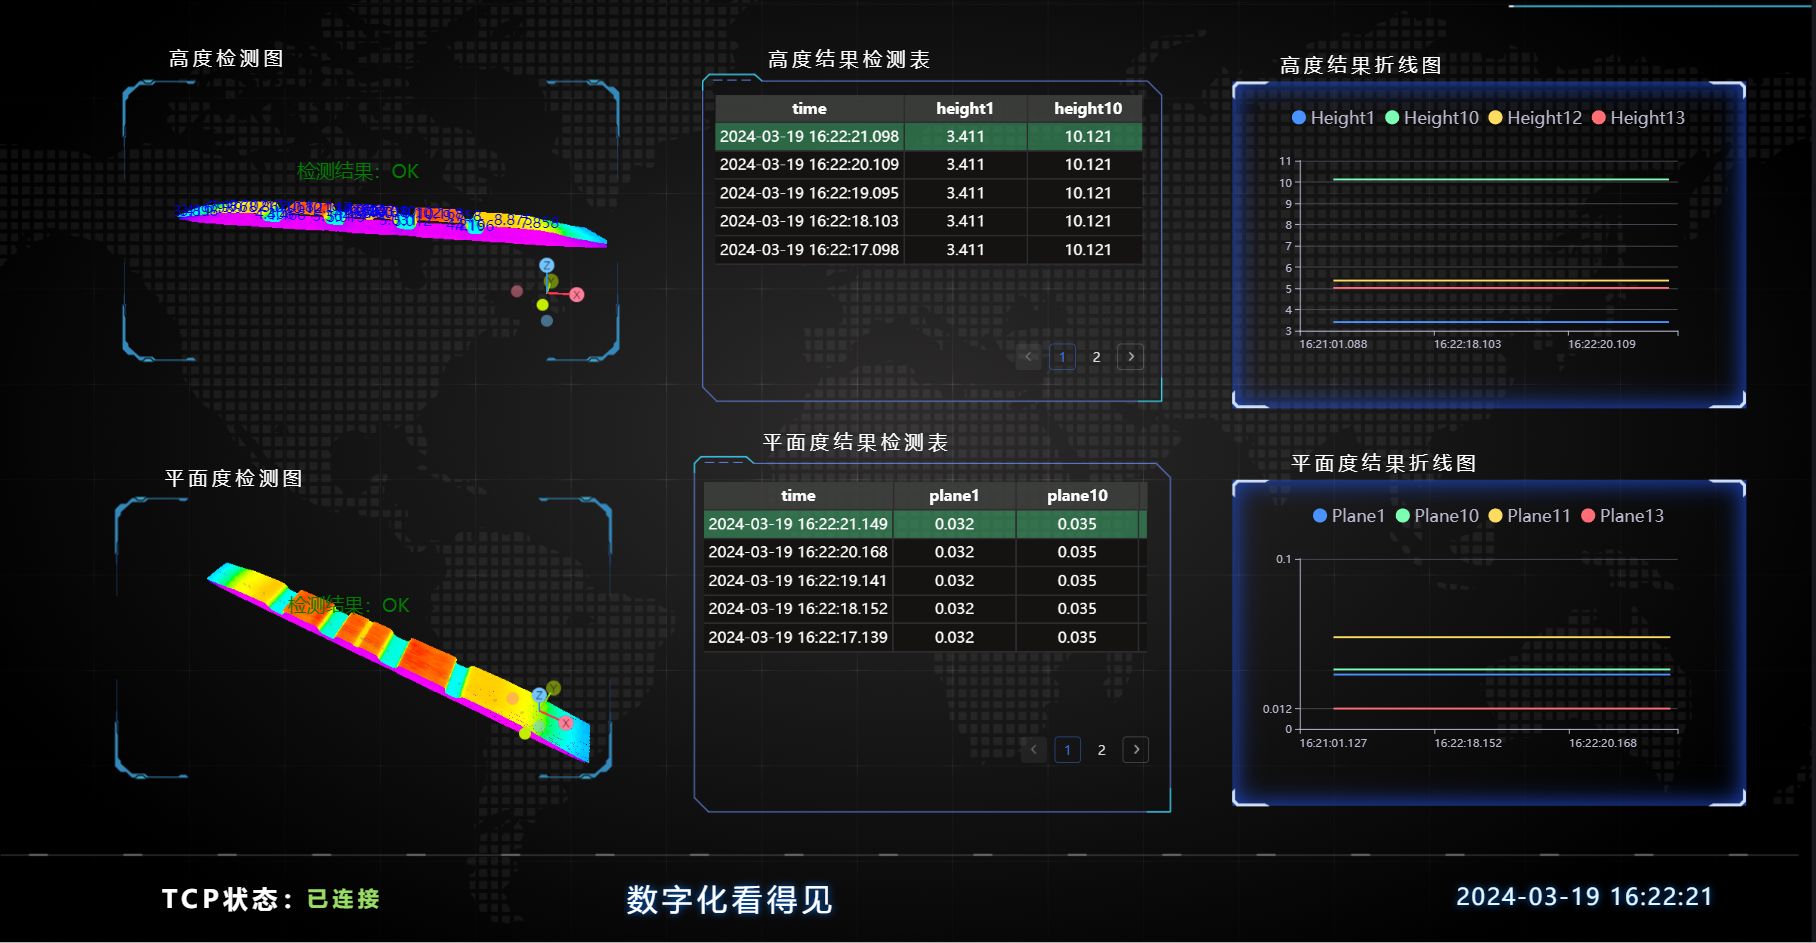
專案流程
一、初始化
- 選擇
Lua脚本语言工具,全域性變數初始化,建立待接收資料的csv檔案。
初始化全域性變數分別用於迴圈計數,高度平面度結果儲存字串
拼接表頭字串,儲存初始化csv檔案
經驗
.. 用於string型別字串拼接
part1 = "Hello, "
part2 = "world!"
result = part1 .. part2
print(result) # 輸出: Hello, world!
,作為分隔符,分割每個資料項
--初始化全局变量
SetIntVariable("pinCount" , 0)
SetIntVariable("pinCount1" , 0)
SetStringVariable("HeightSave" , "")
SetStringVariable("PlaneSave" , "")

--生成用于拼接的字符串
write = ""

--如果该文件不存在,生成该文件
if FileExists("./Height.csv") == false then
    --生成表头
    write = write .. "Time,"
    for i = 1,30,1 do
        write = write .. "h" .. i
        write = write .. ","
    end
    write = write .. "OK/NG" .. "\n"
end

--将时间拼接入表头中
write = write .. os.date("%Y_%m_%d %H:%M;%S") .. ","
--将表头写入文件中
WriteToFile("./Height.csv",write)

--生成用于拼接的字符串
write = ""

--如果该文件不存在,生成该文件
if FileExists("./Plane.csv") == false then
    --生成表头
    write = write .. "Time,"
    for i = 1,30,1 do
        write = write .. "Plane" .. i
        write = write .. ","
    end
    write = write .. "OK/NG" .. "\n"
end
--将时间拼接入表头中
write = write .. os.date("%Y_%m_%d %H:%M;%S") .. ","
--将表头写入文件中
WriteToFile("./Plane.csv",write)- 選擇
加载点云工具,獲取點雲。
二、預處理
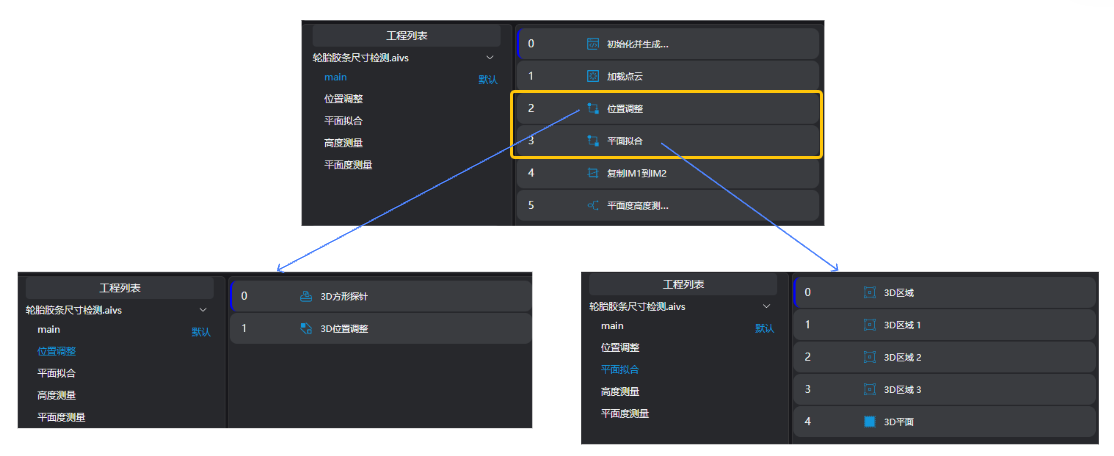
位置調整
選擇3D方形探针工具和3D位置调整工具,通過選取底面上邊座標進行x,y方向位置的調整。
擬合平面
- 選擇
3D区域工具,選取底面19塊不同的區域進行擬合平面。
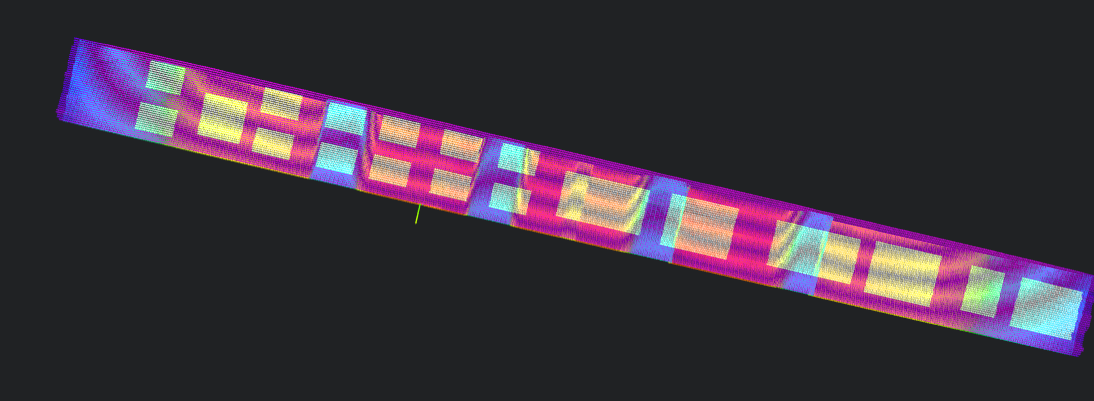
- 選擇
3D平面工具,繫結上一步的運算元輸出變數作為基準區域來擬合平面,並將擬合出來的平面作為零平面。
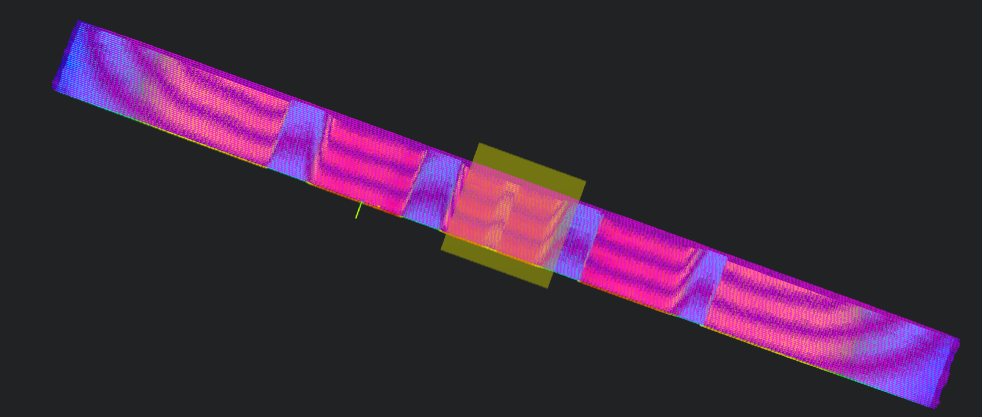
影像預處理
選擇3D裁切工具,將IM1影像複製到IM2上用於平面度測量。
提示
使用並行呼叫子程式時,每個子程式需要在不同的IM執行。
三、平面度高度測量
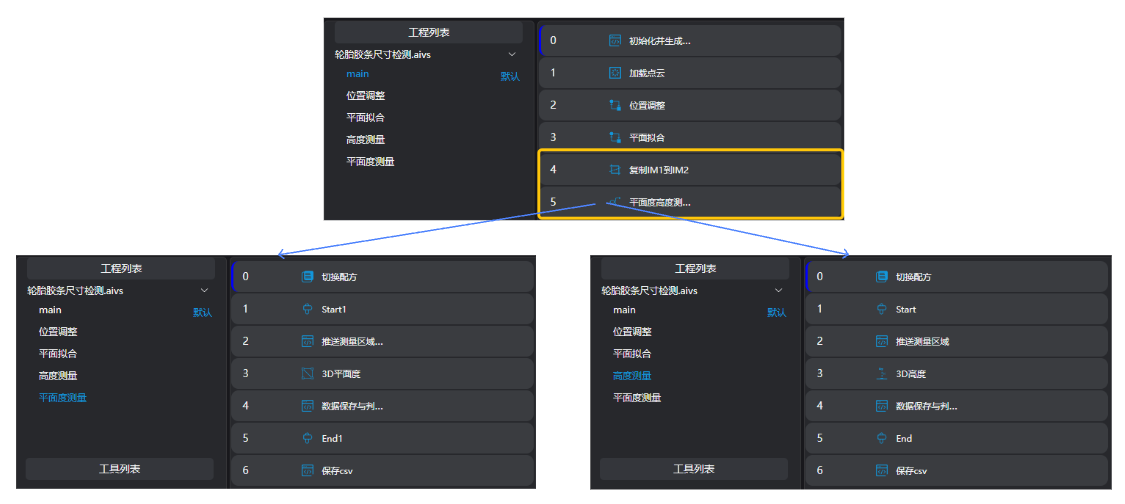
高度測量
選擇
切换配方工具,將配方切換至Height。選擇
标记工具,設定迴圈起點。選擇
lua脚本语言工具,從配方檔案獲取當前待測點的座標並計算待測區域範圍設定box到指令碼輸出。
--根据当前循环数读取配方中指定序号的数据
Result = GetRecipeSet(count)

--将配方中的数据赋值给x,y,z
x = Result.PinPositionX
y = Result.PinPositionY
z = Result.PinHight

--计算得出待测区域范围
sx = x-0.5
sy = y-0.5
sz = z-0.5

ex = x+0.5
ey = y+0.5
ez = z+0.5

--将待测区域设置为box到脚本输出
SetBox("box",sx,sy,sz,ex,ey,ez)

--将待测区域的Box显示在IM1上
DrawBox(1,"green",sx,sy,sz,ex,ey,ez)- 選擇
3D高度工具,繫結上一步lua脚本语言工具輸出的box作為輸入區域測量高度。
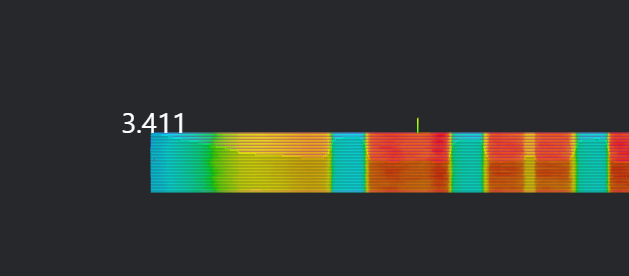
- 選擇
lua脚本语言工具,儲存測量內容,判斷迴圈是否結束並設定增加迴圈次數。
綁定當前迴圈計數值,
3D高度工具高度測量值,用於拼接儲存高度值的字串,用於儲存高度值的float陣列拼接高度值到字串,儲存字串到全域性變數(用於儲存到csv)
插入當前測量高度到用於儲存高度值的float陣列(用於結果判斷),儲存陣列到全域性變數
判斷迴圈是否結束
經驗
string.format 用於格式化字串 %.nf表示將浮點數格式化為保留 n 位小數。
pi = 3.14159 str = string.format("Pi is approximately %.3f", pi) print(str) -- 輸出: Pi is approximately 3.141
count = count + 1

--将此次测量的高度拼接入write字符串中
write = write ..  string.format("%.3f", height) .. ","

--保存当前已测量高度至全局变量中
SetStringVariable("HeightSave" , write)

--保存当前测量的高度至全局变量中
table.insert(Height, math.floor(1000*height)/1000)
SetFloatArrayVariable("Height", Height)
-- SetFloatVariable("Height" .. count , math.floor(1000*height)/1000 )

--保存当前循环数至全局变量中
SetIntVariable("pinCount",count)


--判断循环
if count < 30 then
   Jump("Start")
elseif count == 30 then
   Jump("End")
end選擇
标记工具,設定迴圈終點。選擇
lua脚本语言工具,將高度測量結果寫入csv檔案中。
繫結儲存高度的陣列全域性變數,繫結拼接高度值的字串全域性變數
迴圈對高度陣列進行判斷,將判斷結果拼接到繫結的字串後
儲存拼接字串到csv檔案
-- 高度判断
Judge = true
for i = 1, 30, 1 do
    -- 获取指定序号的配方值
    currentPin = GetRecipeSet(i)
    -- 对测量结果进行判断
    if currentPin.PinHight - 0.3 > Height[i] or Height[i] > currentPin.PinHight + 0.1 then
       Judge = false
       break
    end
end

-- 对结果进行判断,根据判断的结果拼接数据至字符串中
if Judge == true then
    write = write .. "OK\n"
    DrawText3D(1,"green",30,-13,35,20,"检测结果:OK")
elseif Judge == false then
    write = write .. "NG\n"
    DrawText3D(1,"red",30,-13,35,20,"检测结果:NG")
end

-- 保存csv文件
WriteToFile("./Height.csv",write)平面度測量
選擇
切换配方工具,將配方切換至Plane。選擇
标记工具,設定迴圈起點。選擇
lua脚本语言工具,從配方檔案獲取當前待測點的座標並設定box到指令碼輸出。
--获取指定序号的配方值
Result = GetRecipeSet(count)

--将配方值赋值给x,y,z
x = Result.PinPositionX
y = Result.PinPositionY
z = Result.PinHight

--计算得出待测区域范围
sx = x-0.5
sy = y-0.5
sz = z-1

ex = x+0.5
ey = y+0.5
ez = z+1

--将待测区域输出到寄存器中用于后续调用
SetBox("box1",sx,sy,sz,ex,ey,ez)

--将待测区域的Box显示在IM2上
DrawBox(2,"green",sx,sy,sz,ex,ey,ez)選擇
3D平面度工具,繫結上一步輸出的box作為輸入區域測量平面度。選擇
lua脚本语言工具,儲存測量內容,並設定迴圈次數。
--因为已经测量过一次平面度,所以当前循环数需要+1
count = count + 1

--将当前测量的平面度结果拼接入存储已经测量的平面度的字符串中
write = write ..  string.format("%.3f", plane) .. ","

--更新已经测量的平面度至全局变量中
SetStringVariable("PlaneSave" , write)

--存储当前测量的平面度至全局变量中
table.insert(Plane, math.floor(1000*plane)/1000)
SetFloatArrayVariable("Plane", Plane)
-- SetFloatVariable("Plane" .. count ,  math.floor(1000*plane)/1000 )

--更新当前循环数至全局变量中
SetIntVariable("pinCount1",count)

--判断循环
if count < 30 then
    Jump("Start1")
else
    Jump("End1")
end選擇
标记工具,設定迴圈終點。選擇
lua脚本语言工具,將結果寫入csv檔案中。
-- 平面度判断
Judge = true
for i = 1,30,1 do
    if 0.08 < Plane[i] or Plane[i] < 0 then
       Judge = false
       break
    end
end

-- 对结果进行判断,根据判断的结果拼接数据至字符串中
if Judge == true then
    write = PlaneSave .. "OK\n"
    DrawText3D(2,"green",30,-13,35,20,"检测结果:OK")
elseif Judge == false then
    write = PlaneSave .. "NG\n"
    DrawText3D(2,"red",30,-13,35,20,"检测结果:NG")
end

-- 保存csv文件
WriteToFile("./Plane.csv",write)經驗提煉
核心步驟:
根據配方獲取待測位置並推送box
測量尺寸