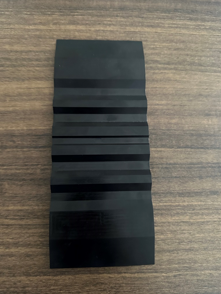
Detection of Adhesive Strip Inflection Point Height and Flatness
Project Overview
Project Background
With automotive manufacturers imposing increasingly strict requirements on tire quality, tire manufacturers are in urgent need of a fast, easy-to-operate, and high-precision measurement device. It can be used online to reduce downtime and minimize the occurrence of defective products.
Camera Selection
LMI Laser Line Scan Camera Gocator2350
Detection Requirements
Measurement Accuracy ≤ 0.03mm
Measurement Repeatability ≤ 0.02mm
Measurement Cycle ≤ 3s
Solution
AI-Vision can process both contours and point clouds simultaneously. It locates inflection points through point cloud images to calculate volume and measure height, and extracts cross-sectional contours for cross-sectional area measurement.
Design Concept
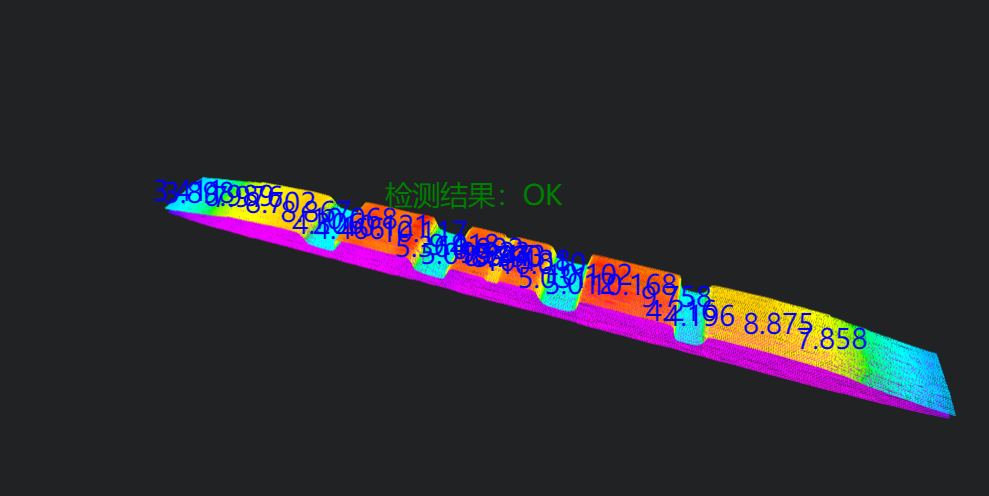
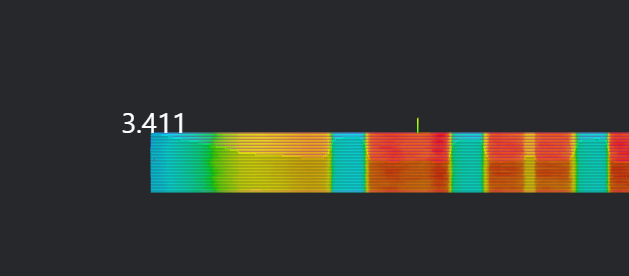
Implementation Effect Display
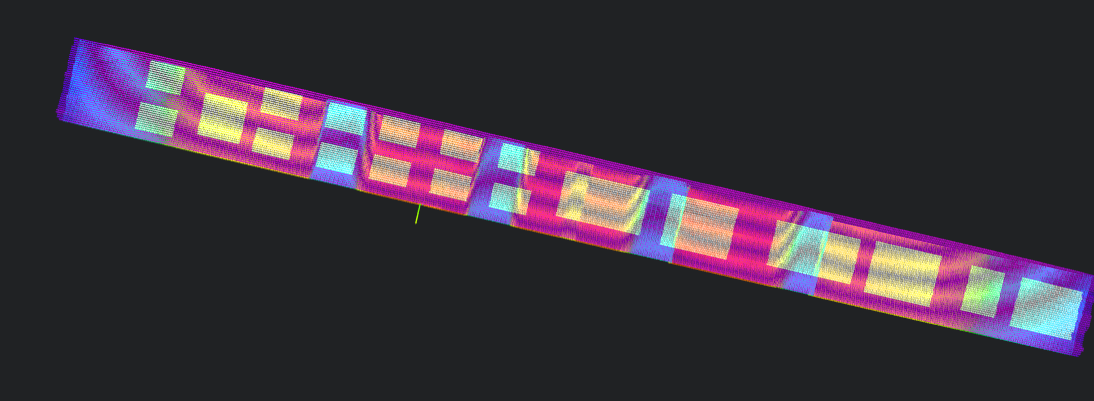
Project Result Display:
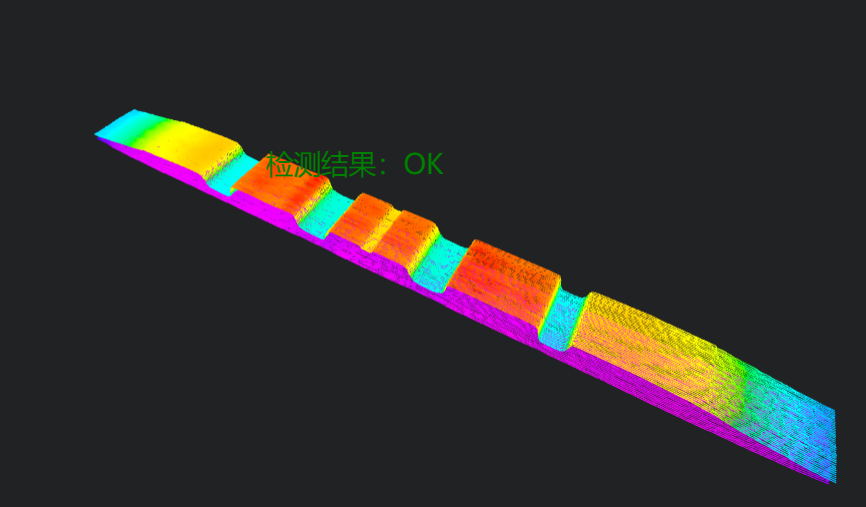
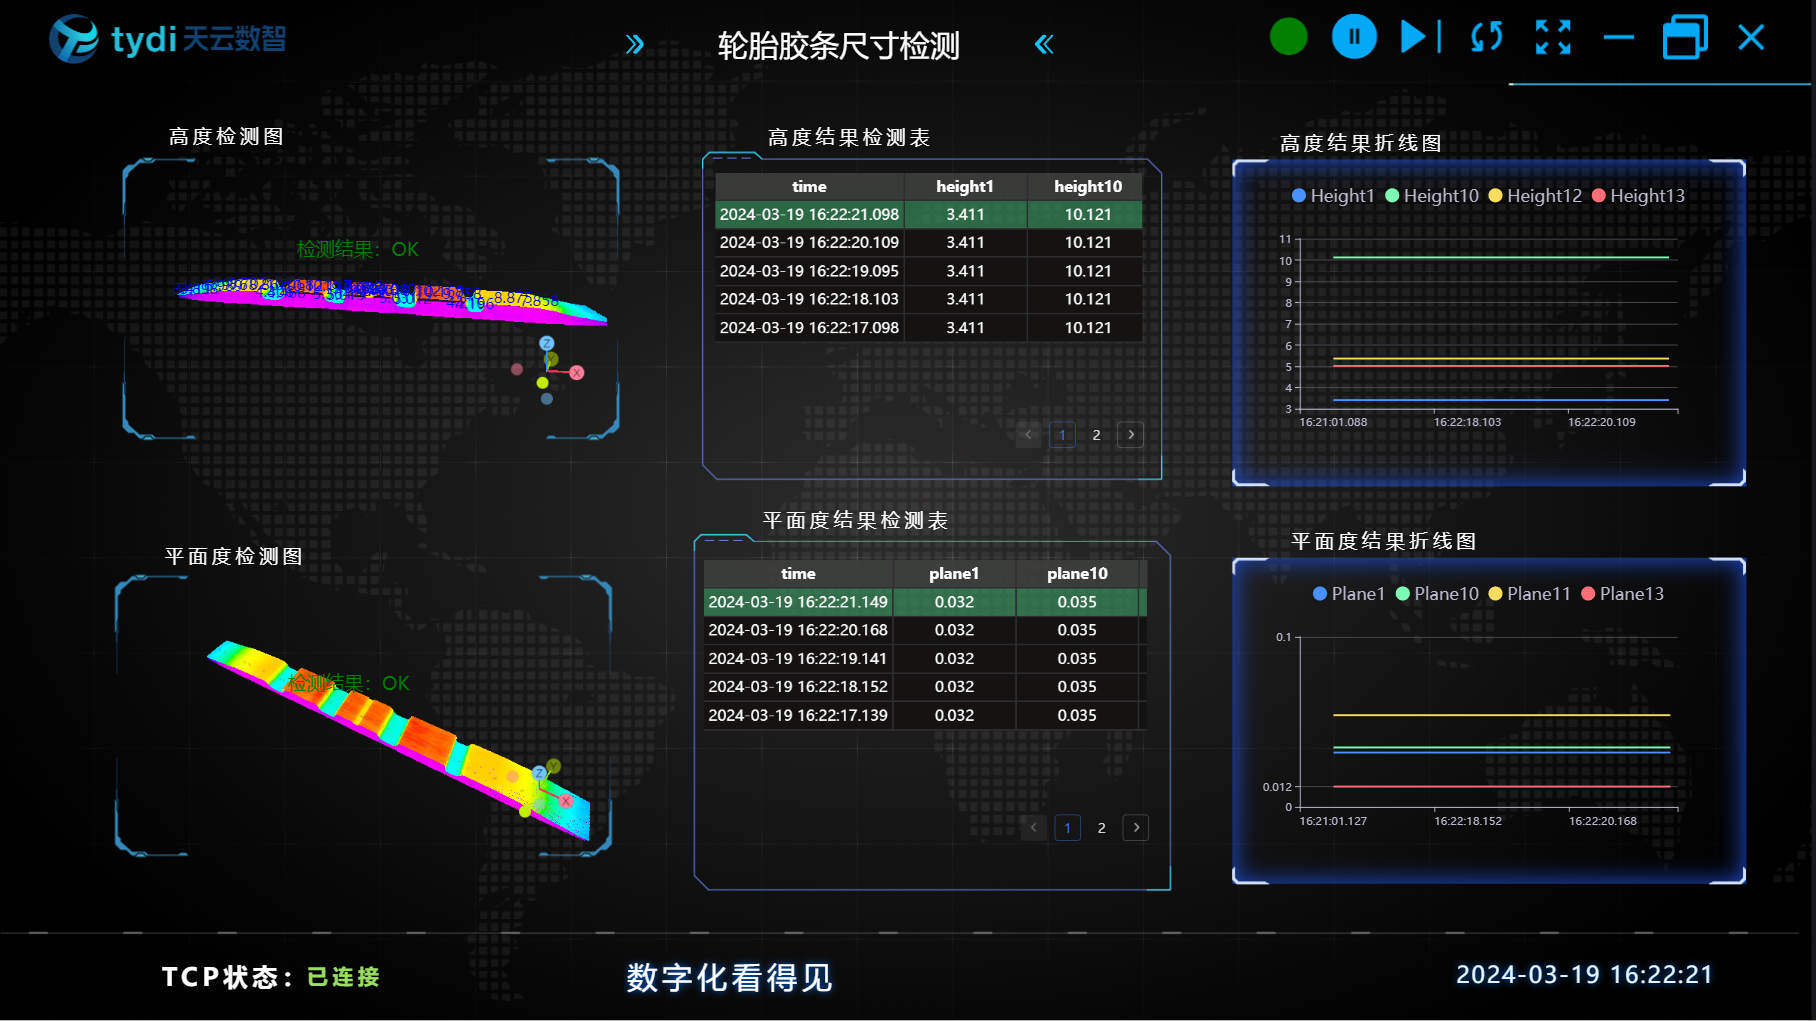
HMI Result Display:
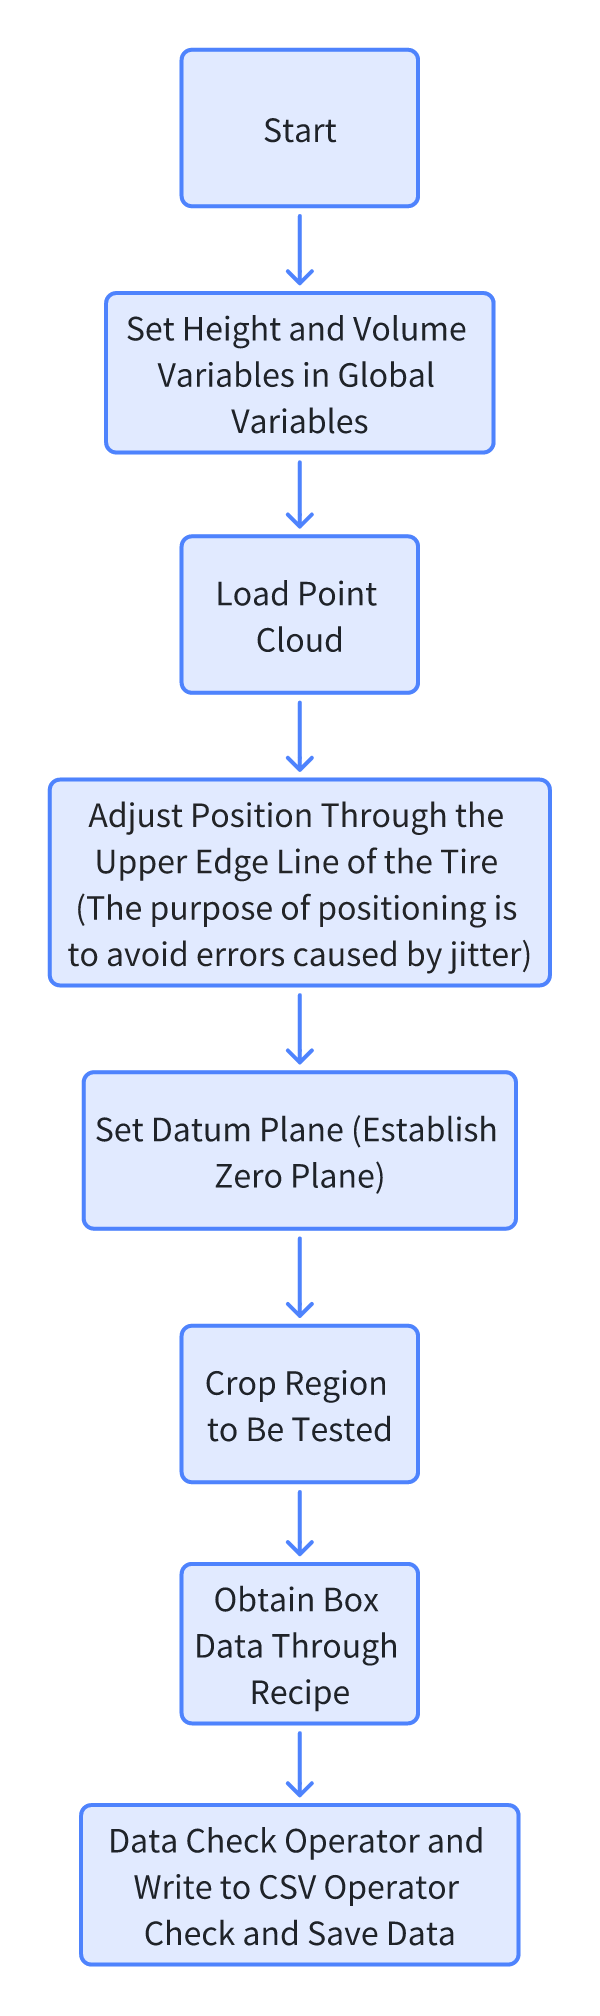
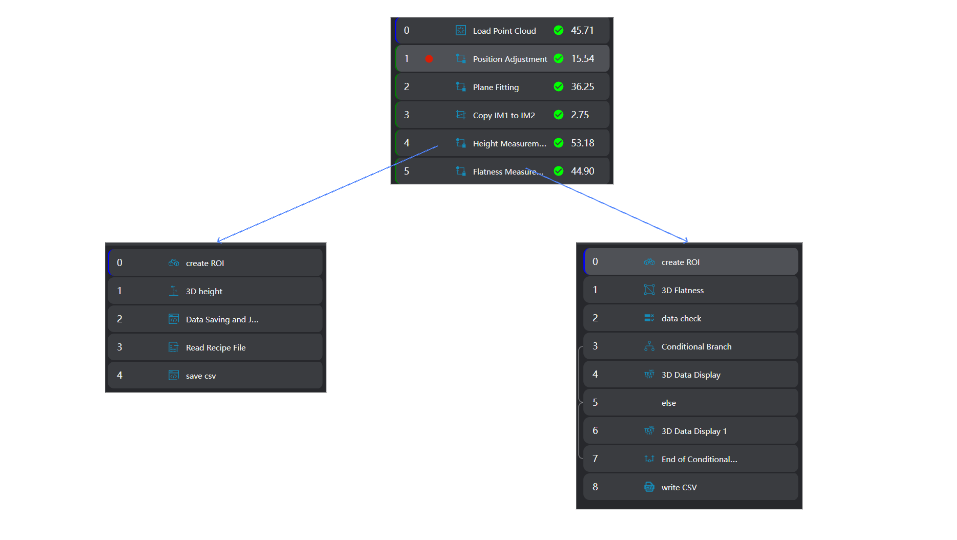
Project Process
1. Initialization
- Add height and volume variables directly in global variables.
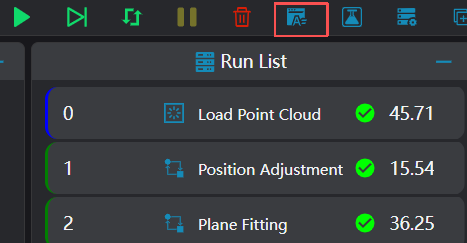
- Select the
Load Point Cloudtool to acquire point clouds.
2. Preprocessing
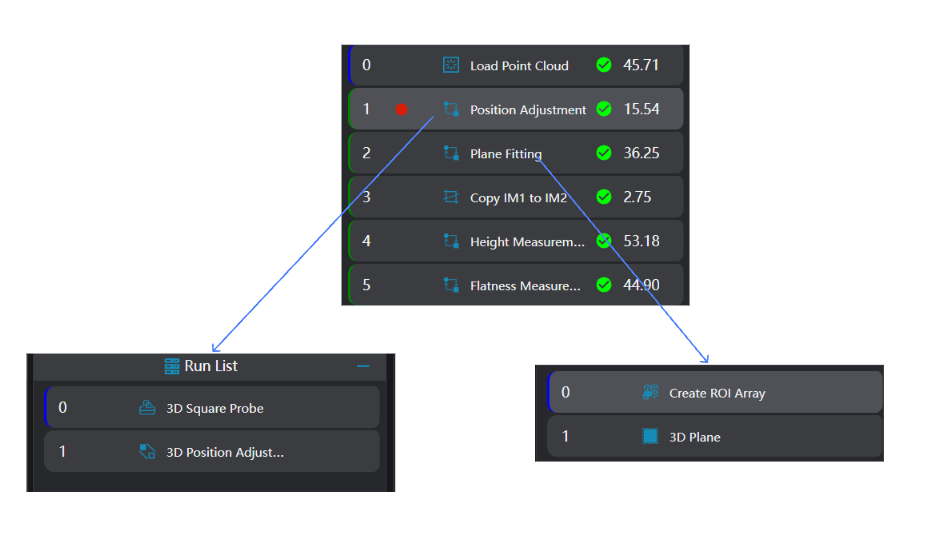
Position Adjustment
Select the 3D Square Probe tool and 3D Position Adjustment tool. Adjust the position in the x and y directions by selecting the coordinates of the upper edge of the bottom surface.
Plane Fitting
- Select the
Create ROI Arraytool and select 19 different areas on the bottom surface for plane fitting.
- Select the
3D Planetool, bind the operator output variable from the previous step as the reference area for plane fitting, and set the fitted plane as the zero plane.
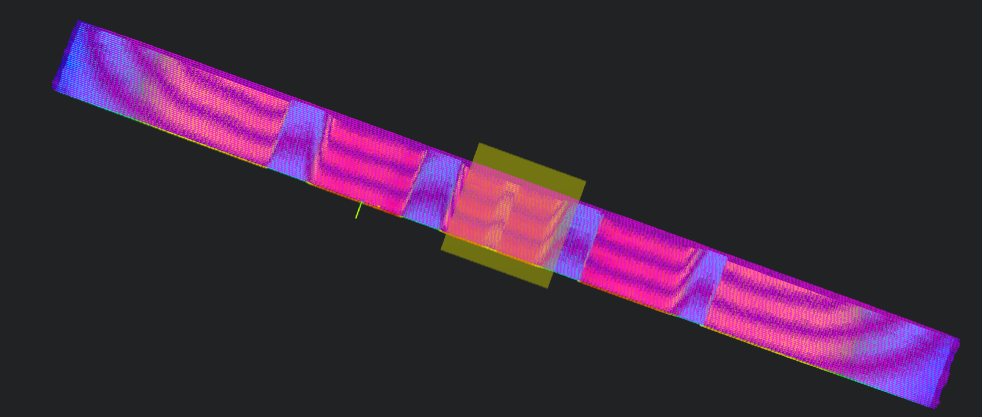
Image Preprocessing
Select the 3D Cropping tool to copy the IM1 image to IM2 for flatness measurement.
Note
When calling subroutines in parallel, each subroutine needs to be executed in a different IM.
3. Flatness and Height Measurement
Height Measurement
Select the
Create ROItool and import the box recipe into the operator.Select the
3D Heighttool, bind the box output by theCreate ROItool in the previous step as the input area to measure height.
- Select the
Lua Scripttool to save the measurement data.
Bind the current loop count, the height measurement value of the
3D Heighttool, the string used to splice and save height values, and the float array used to save height values.Splice the height values into a string and save the string to a global variable (for saving to CSV).
Insert the current measured height into the float array for saving height values and save the array to a global variable.
Experience
string.format is used to format strings. %.nf means formatting a floating-point number to retain n decimal places.
pi = 3.14159 str = string.format("Pi is approximately %.3f", pi) print(str) -- Output: Pi is approximately 3.141
-- Generate a string for splicing
write = ""

-- Generate the file if it does not exist
if FileExists("./Height.csv") == false then
   -- Generate table header
   write = write .. "Time,"
   for i = 1,30,1 do
       write = write .. "h" .. i
       write = write .. ","
   end
   write = write .. "OK/NG" .. "\n"
end

-- Splice the time into the table header
write = write .. os.date("%Y_%m_%d %H:%M;%S") .. ","
-- Write the table header to the file
WriteToFile("./Height.csv",write)

-- Splice the currently measured heights into the write string
for i=1, #height do
   write = write ..  string.format("%.3f", height[i]) .. ","
end
print(write)

-- Save the currently measured heights to a global variable
SetStringVariable("HeightSave" , write)- Select the
Lua Scripttool to write the height measurement results into a CSV file.
Bind the global variable of the array storing heights and the global variable of the string splicing height values.
Cycle through the height array for judgment and splice the judgment result to the bound string.
Save the spliced string to the CSV file.
-- Height judgment
Judge = true
for i = 1, 30, 1 do
    -- Get the recipe value of the specified sequence number
    currentPin = GetRecipeSet(i)
    -- Judge the measurement result
    if currentPin.PinHight - 0.3 > Height[i] or Height[i] > currentPin.PinHight + 0.1 then
       Judge = false
       break
    end
end

-- Judge the result and splice data into the string according to the judgment result
if Judge == true then
    write = write .. "OK\n"
    DrawText3D(1,"green",30,-13,35,20,"Detection Result: OK")
elseif Judge == false then
    write = write .. "NG\n"
    DrawText3D(1,"red",30,-13,35,20,"Detection Result: NG")
end

-- Save the CSV file
WriteToFile("./Height.csv",write)Flatness Measurement
Select the
Create ROItool and import the recipe into the operator.Select the
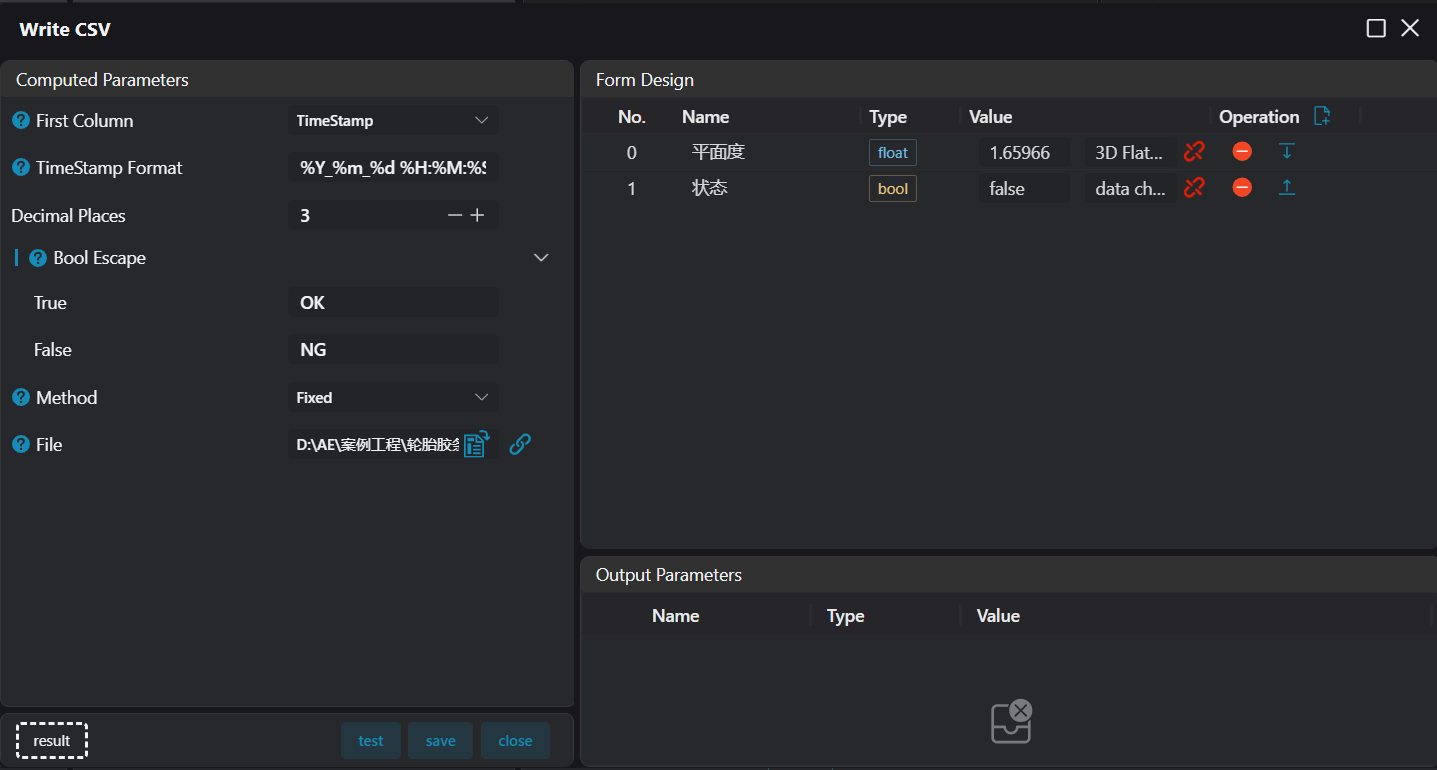
3D Flatnesstool, bind the box output from the previous step as the input area to measure flatness.Use the
Data Checkoperator to judge the measured flatness, and use theConditional Branchoperator and3D Data Displayoperator to display the data results.
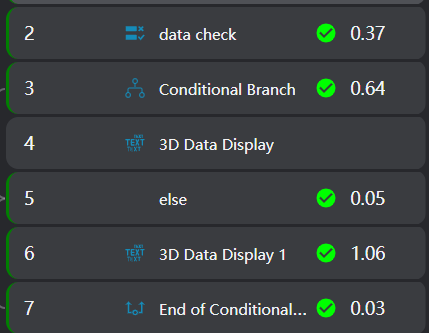
- Use the
Write to CSVoperator to save data.
Experience Summary
Core Steps:
- Obtain the position to be measured according to the recipe and push the box.
- Measure dimensions.