3D to 2D Template Matching
Project Background
Measurement Background
To ensure battery quality, safety, and optimize performance, manufacturers need to strictly control every link in the production process, including battery dimensional accuracy. The 3D inspection of battery height and width aims to achieve precise measurement of battery physical dimensions through a combination of 2D and 3D inspection tools.
Camera Selection
Hepersen LCF
Measurement Items
Battery length, width, and height
Solution
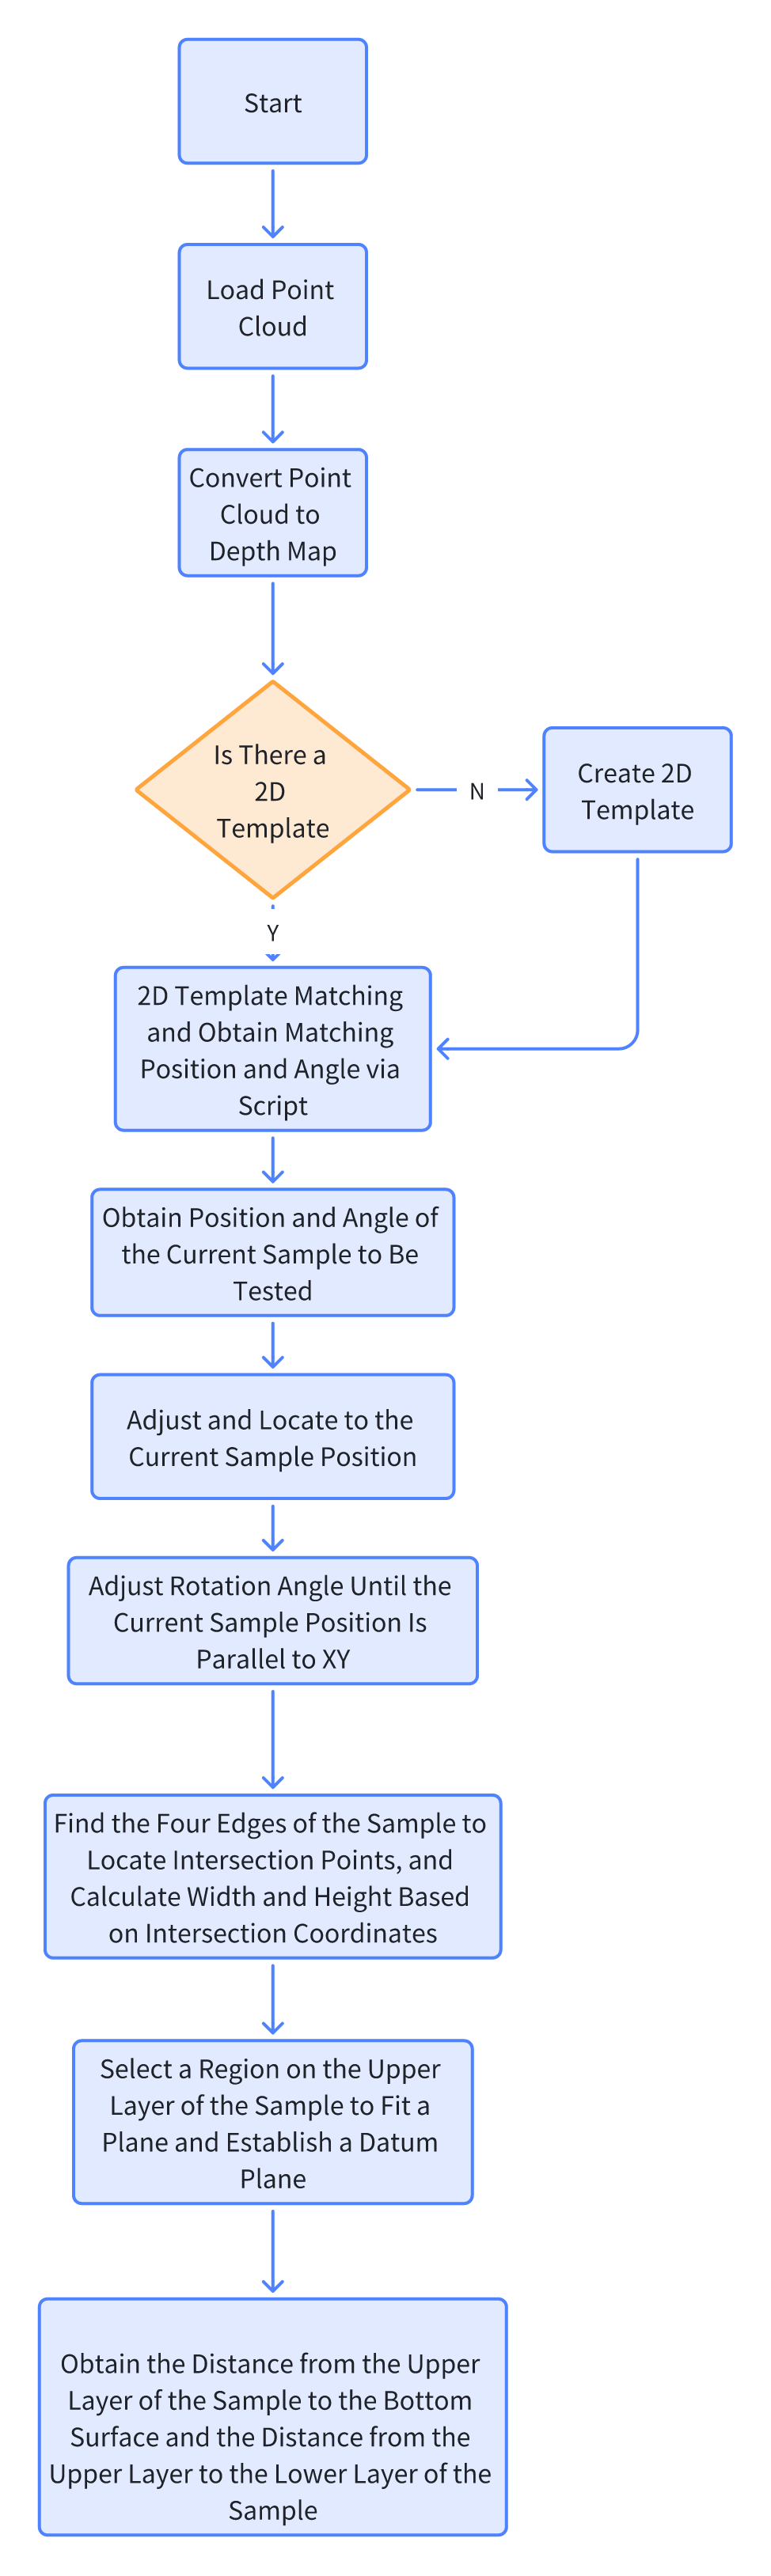
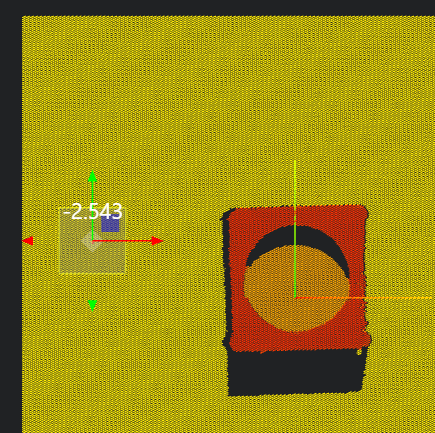
AI-Vision first converts the point cloud image into a depth map, creates a template and performs template matching on the depth map to confirm the sample position, then uses 3D tools to measure the sample's width and height.
Design Concept
Implementation Effect Display
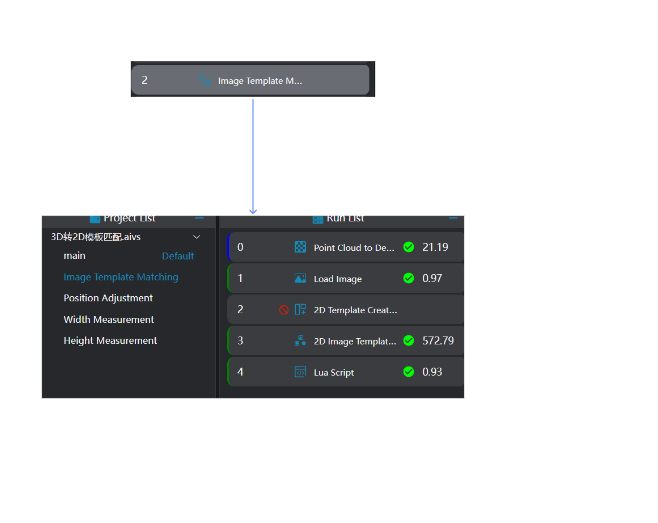
- Project Result Display
- Width Measurement Result

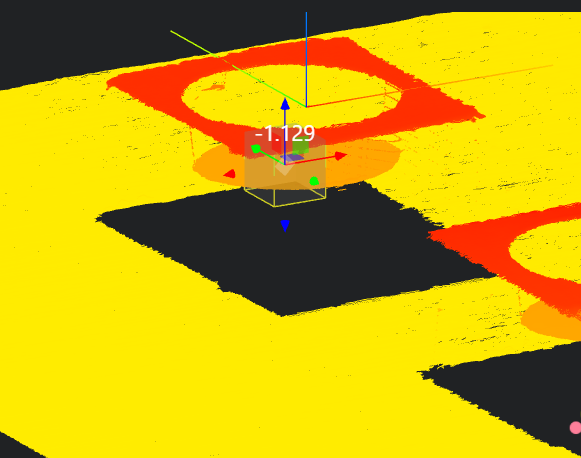
- Height Measurement Result
- Width Measurement Result
Project Process
1. Initialization
- Use the
Lua Scripttool to initialize global variables. - Use the
Load Point Cloudtool to load the point cloud image to be processed.
-- Initialize global variables for loop judgment
SetIntVariable("count",1)
2. Obtain Sample Position and Angle Information
- Use the
Point Cloud to Depth Maptool to convert the 3D point cloud image into a depth map for 2D template matching. - Use the
Load Imagetool to load the saved depth map. - Use the
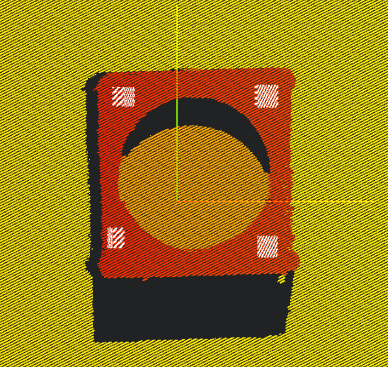
2D Template Creationtool to create a 2D template. - Use the
2D Template Matchingtool to perform template matching on the depth map based on the created template. - Use the
Lua Scripttool to obtain all sample position and angle information. Output data to global variables.
- Bound variables: Template matching results; resolution, origin position (output variables of Point Cloud to Depth Map)
- Edit the script to obtain all sample matching angles and insert them into an array; obtain position information from the template matching results, and convert 2D matching XY positions to 3D XY coordinates according to
2D matching position * resolution + origin position - Output data to global variables
-- Obtain matching angles
angles = {}

for i = 1,5,1 do
   table.insert(angles,Result[i].Angle)
end

-- Obtain actual point cloud image position: 2D matching position * resolution + origin position
positionX = {}
positionY = {}

for i = 1,5,1 do
    table.insert(positionX,Result[i].Center.X*resolutionx + offsetx)
    table.insert(positionY,Result[i].Center.Y*resolutiony + offsety)
end

for i = 1,5,1 do
   DrawPoint2D(0, "blue", positionX[i], positionY[i])
end

SetFloatArrayVariable("angles",angles)
SetFloatArrayVariable("positionX",positionX)
SetFloatArrayVariable("positionY",positionY)
SetIntVariable("counts",5)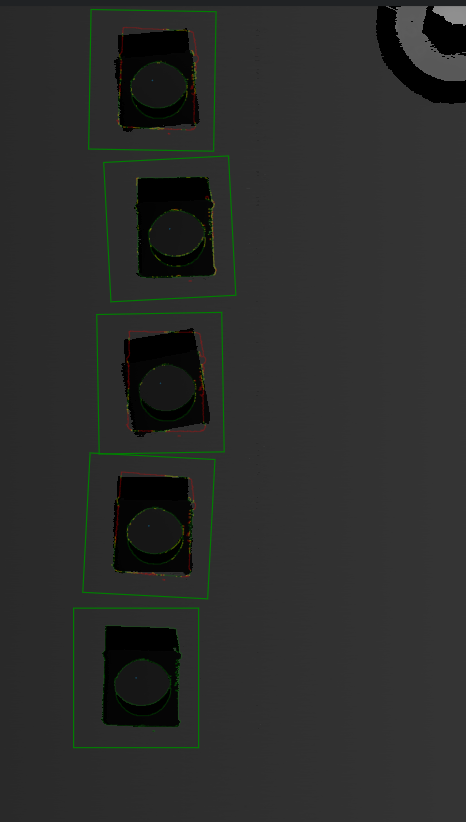
3. Cyclically Measure Width and Height
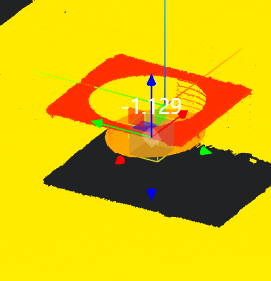
Adjust the orientation of the point cloud based on the obtained template matching angle and position information to make the left and right edges of the measured block parallel to the Y-axis, and the upper and lower edges parallel to the X-axis. Then push the box to measure the width and height of the block.
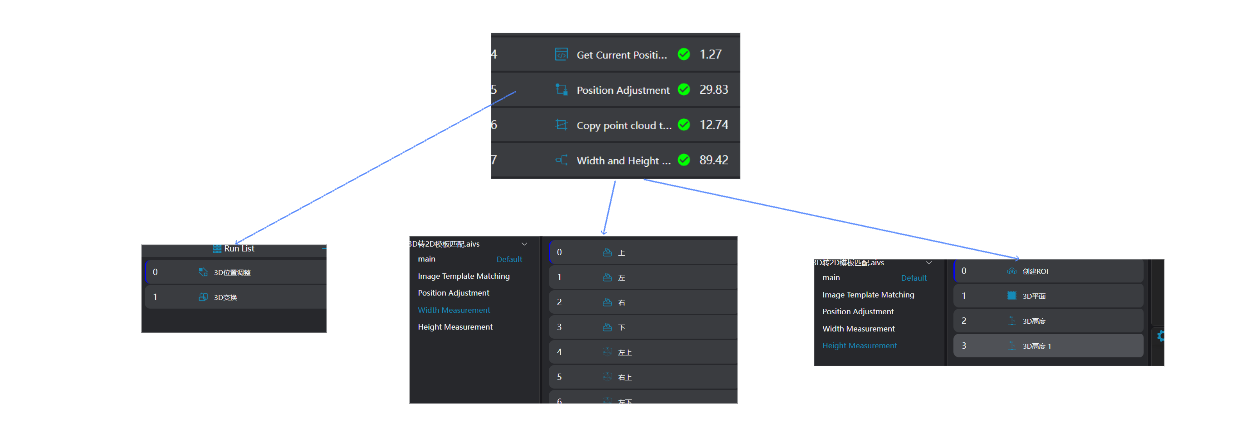
Use the
Markertool to mark the start of the loop.Obtain the current template matching position and angle through a script: The script obtains the current position and angle based on the count value and outputs them to global variables.
Use the
3D Position Adjustmenttool to adjust and locate to the XY position of the current sample to be measured.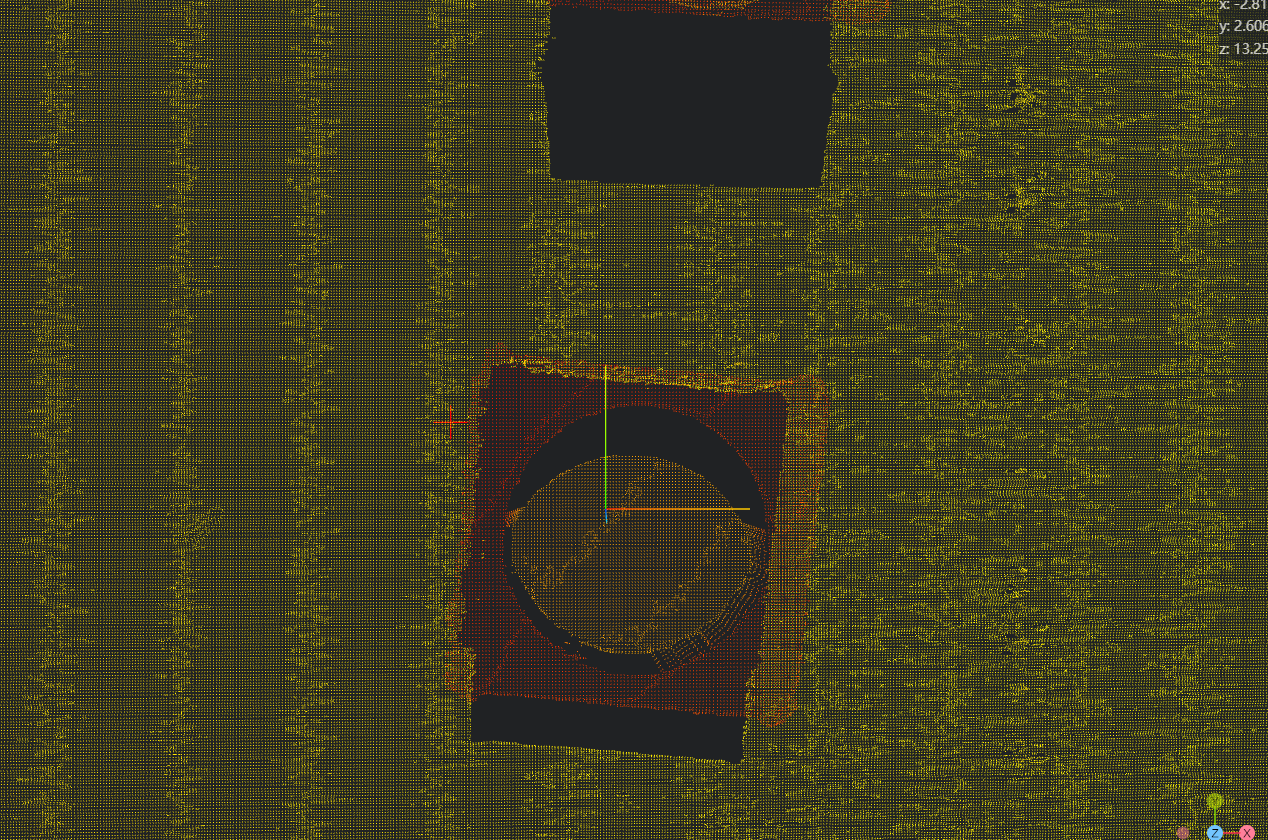
Use the
3D Transformationtool to rotate the point cloud according to the template matching angle of the sample to be measured.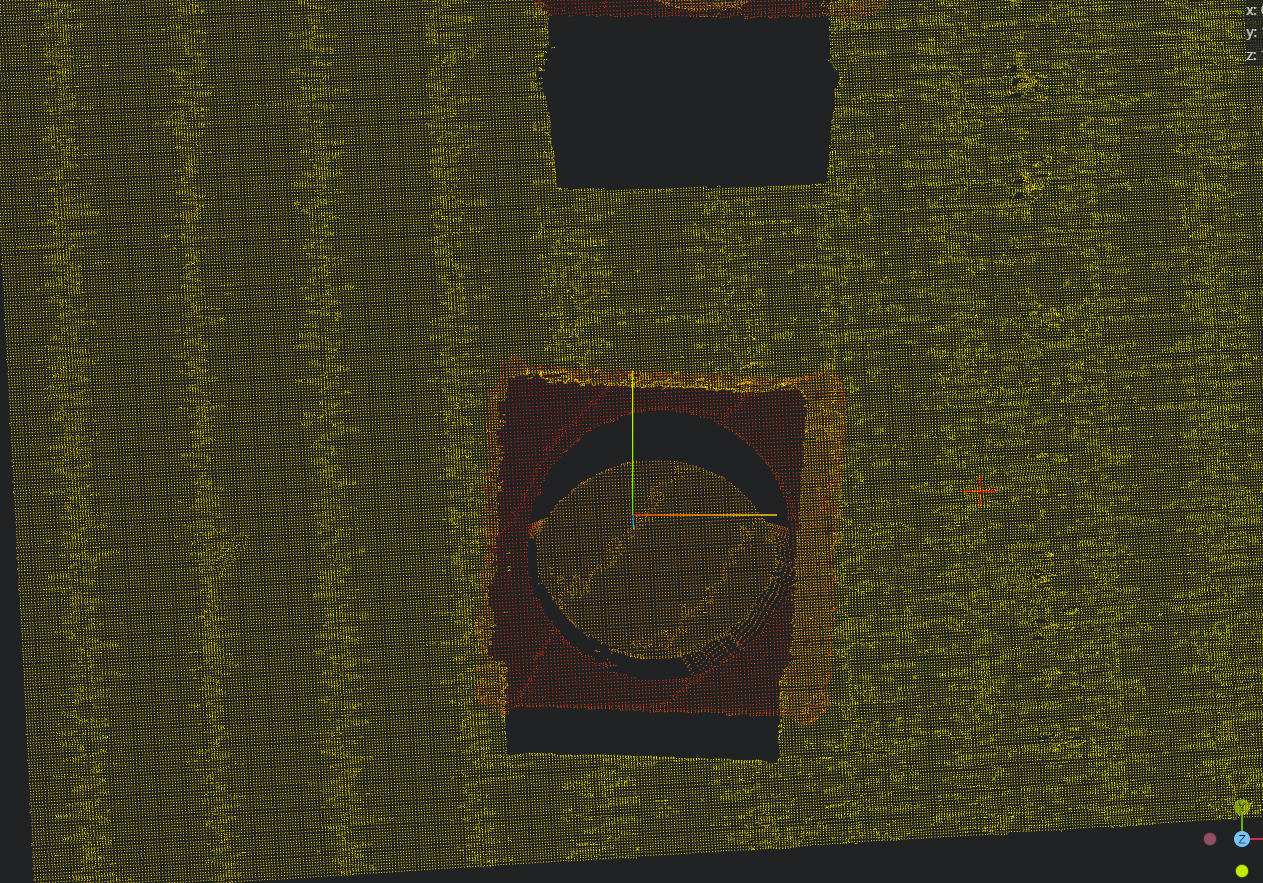
Copy the point cloud to IM4 for width and height measurement.
Use four
Square Probetools to find the four edges of the sample.Use four
3D Geometric Intersectiontools, bind the two edges found in the previous step as input geometries, and find the intersection points of the four edges respectively.Use four
3D Distancetools, bind two of the four intersection points as input points respectively, and measure the length and width of the sample.Use two
3D Regiontools to set the datum region.Use the
3D Planetool, bind the region set in the previous step as the area, and fit the datum plane.Use the
3D Heighttool to measure the distance from the upper layer of the sample to the bottom surface and the distance from the upper layer of the sample to the lower layer of the sample respectively.
 12. Use the
 Lua Script tool to cyclically increment the global variable value by 1.
- Bind the current loop value
countand the total number of samplescounts - Edit the script to judge whether the loop ends
if count < counts then
    Jump("ReStart")
    SetIntVariable("count",count+1)
else
    Jump("End")
end- Mark the end of the loop: Use the
Markertool to create a loop stop marker.
Experience Summary
Core Steps:
- Convert the 3D point cloud image into a depth map and perform 2D template matching to obtain the relative template angle of the sample and the XY position in the 2D image.
- Convert the angle and position information obtained from 2D to 3D information.
- Perform measurements on the 3D point cloud image based on the obtained information.