PEKAT (Surface Inspection)
Effect Preview
Tip
To use this example, you need to prepare a PEKAT VISION License first
Open the complete PEKAT project and set the corresponding communication parameters to call it via AI-Vision. 
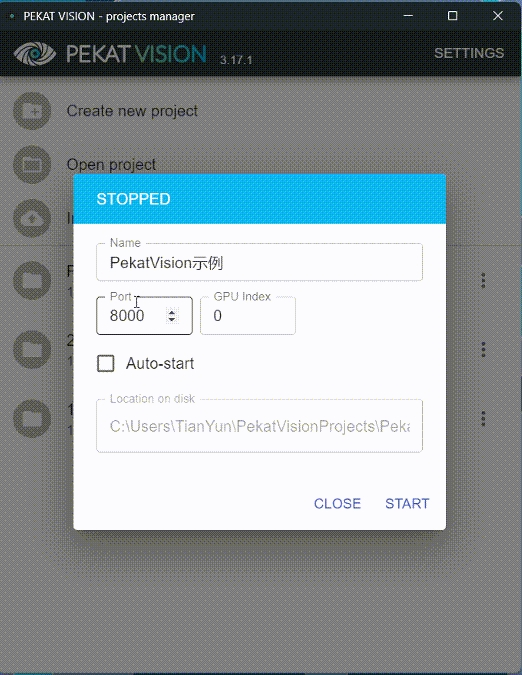
(1) Prepare Pekat
Train a PEKAT surface inspection project in advance (refer to the last section of this document, PekatVision Usage Introduction, for detailed procedures)
[0] Open the PEKAT project
[1] Communication Settings
[a] Check Data Processing: AI-Vision needs to obtain data processed by PEKAT
[b] Select Provider as API: AI-Vision will communicate with PEKAT by calling the API
[c] Set Host to the network address of the PC running the AI-Vision project.
If PEKAT and AI-Vision are on the same PC, you can set it to 127.0.0.1; if on different PCs, ensure network communication is normal

(2) AI-Vision Project
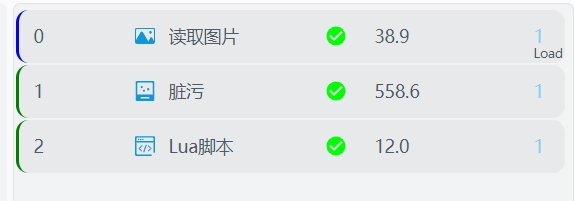
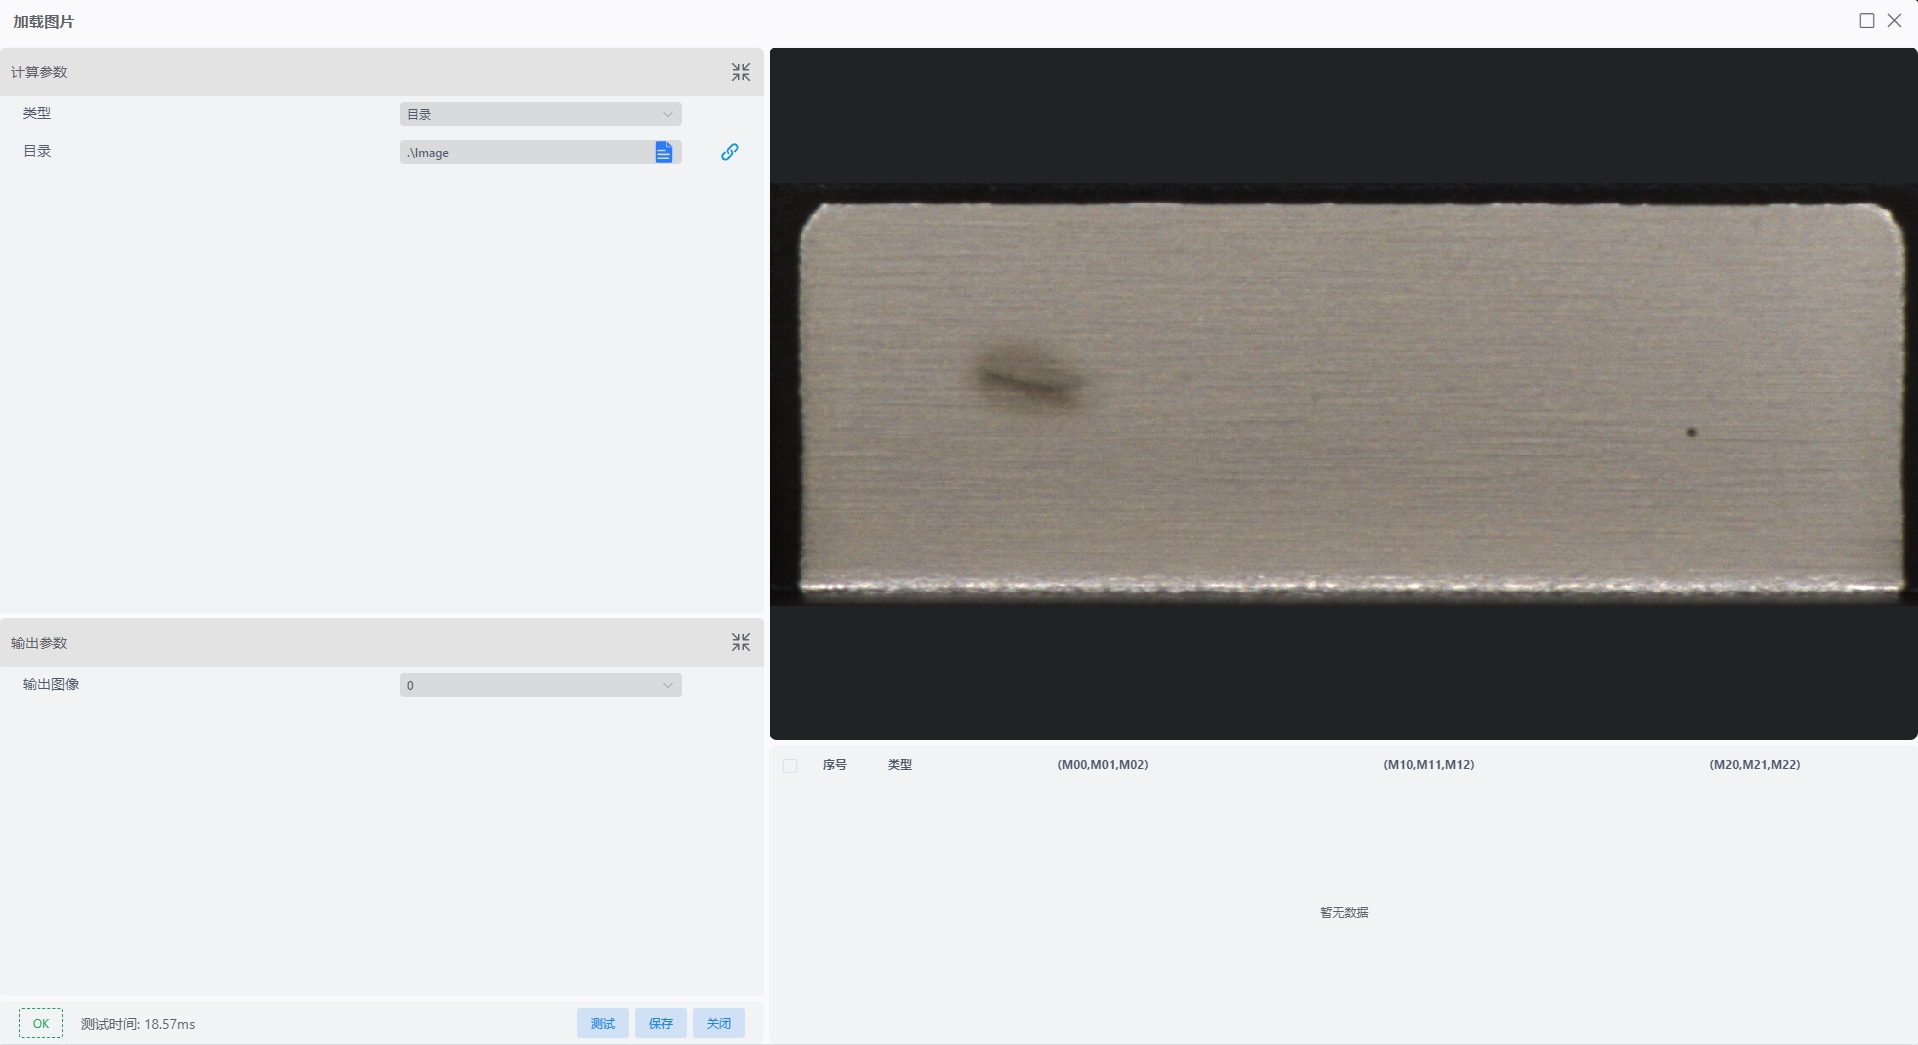
[0] Load Image: Load the image to be inspected into the specified IM
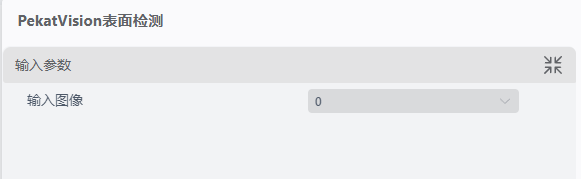
[1] Pekat Surface Inspection
Input Parameters:
Input Image: Select the image to be operated on; the image sequence number is consistent with the IM sequence number.
Calculation Parameters
Host: Set the IP address of the PC where PekatVision is located
Port Number: Set the port number of the corresponding Pekat project
Display Label: Display the PEKAT detection result labels on the output image
Output Window: Push the window to the register for subsequent processing in the AI-Vision project.
Example: Further measure the geometric dimensions in this window
[2] Script Processing (Optional)
The script binds the Json output by PekatVision as a variable. The output variables of the PekatVision Surface Inspection operator include the Json string output by PekatVision
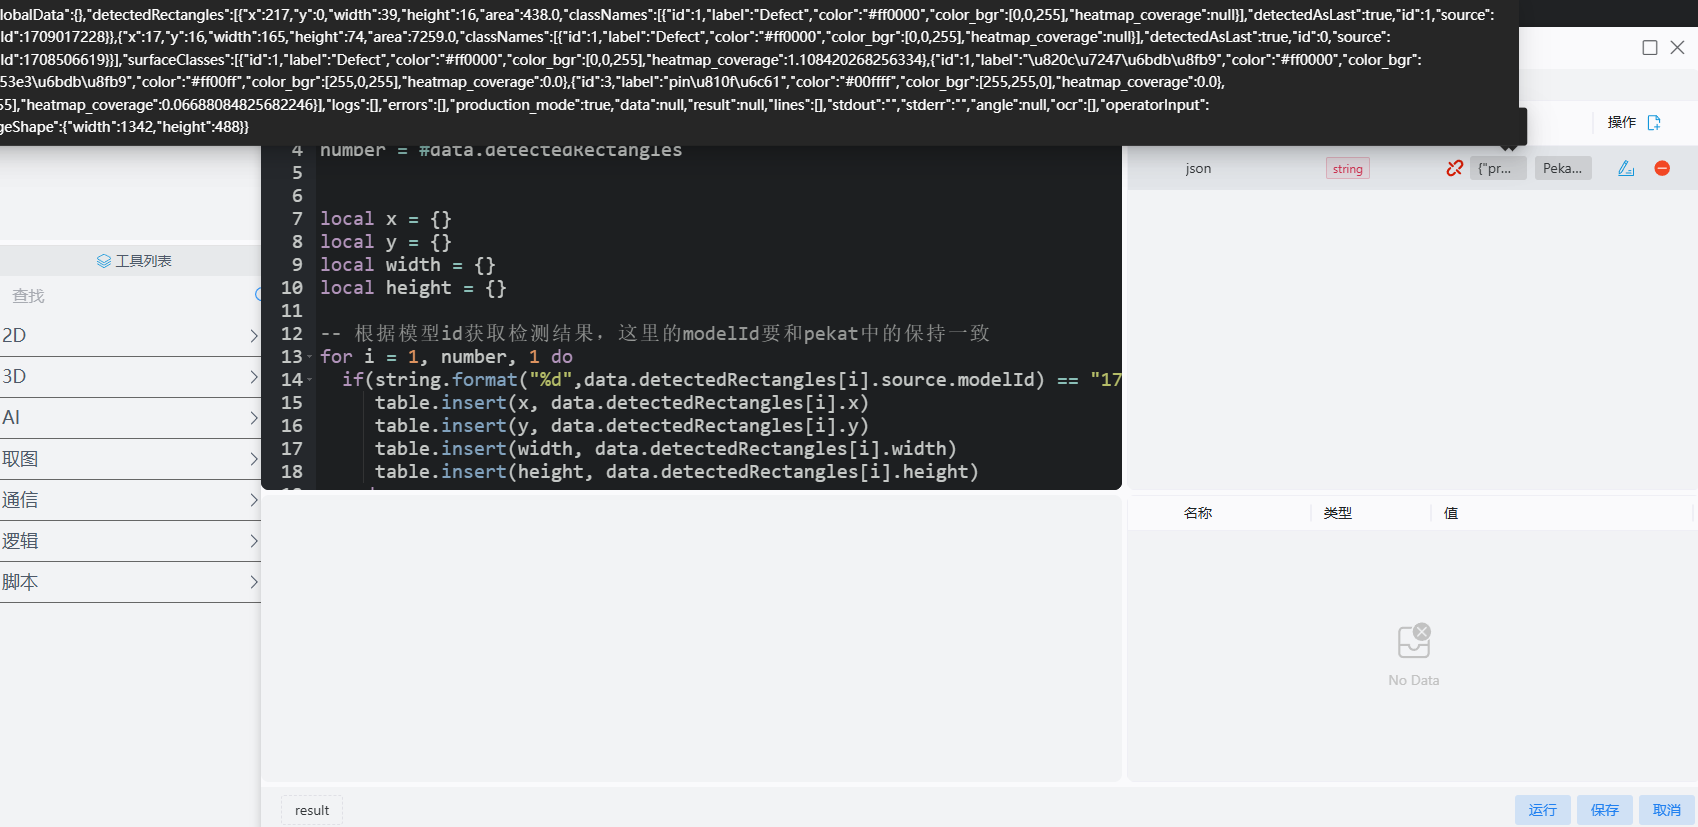
Obtain global variables through the script and display the detection frames and detection results
Confirm the modelId of the model to be detected, obtain the corresponding detection data x, y, height, width, and display the detection frames in the corresponding IM window according to the obtained results
data = ConvertJsonToTable(json)

-- Get the number of detection frames
number = #data.detectedRectangles


local x = {}
local y = {}
local width = {}
local height = {}

-- Get detection results according to model id; the modelId here must be consistent with that in Pekat
for i = 1, number, 1 do
  if(string.format("%d",data.detectedRectangles[i].source.modelId) == "1708506619") then
     table.insert(x, data.detectedRectangles[i].x)
     table.insert(y, data.detectedRectangles[i].y)
     table.insert(width, data.detectedRectangles[i].width)
     table.insert(height, data.detectedRectangles[i].height)
  end

end

-- Output detection frames and results
for i = 1, #x, 1 do
  DrawWindow2D(0,"red",x[i],y[i],x[i]+width[i],y[i]+height[i])
  DrawText2D(0, "red", x[i], y[i] - 25, 20, "Contamination")
endAfter modifying the color of the output window via the script, the effect is as follows: 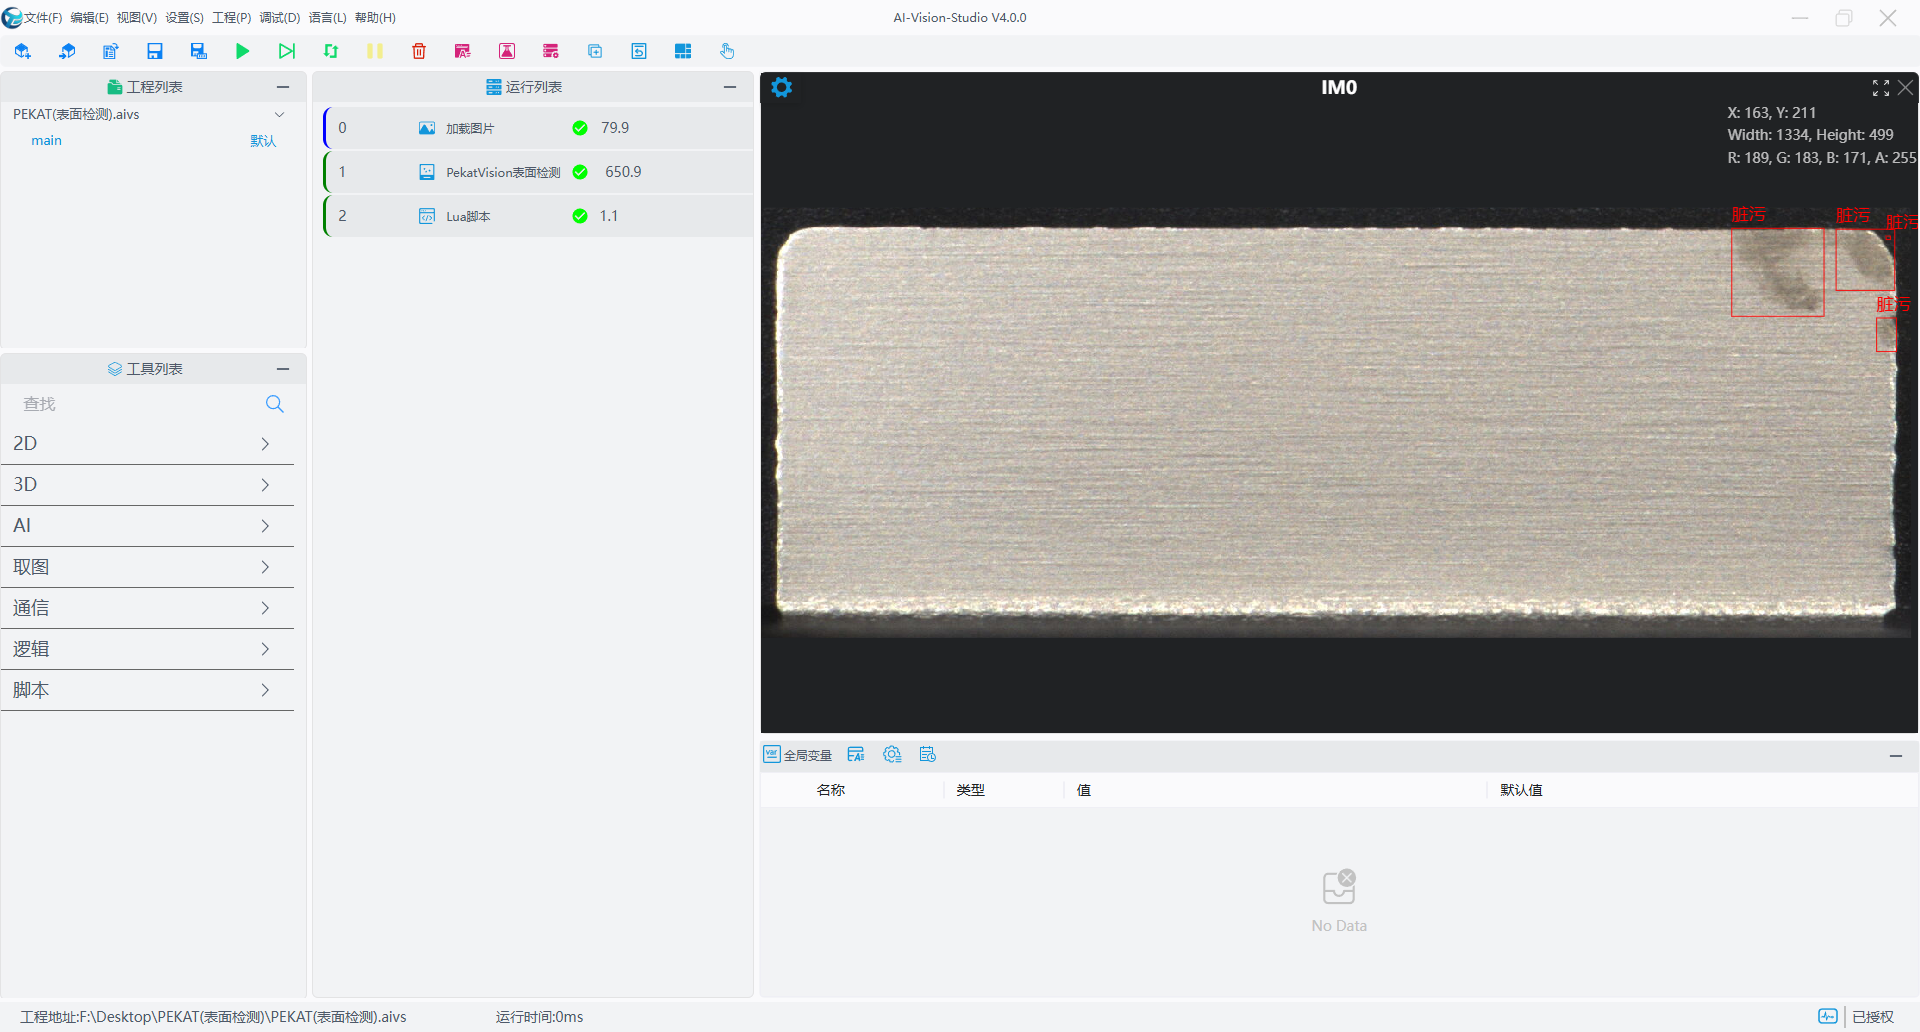
PekatVision Usage Introduction
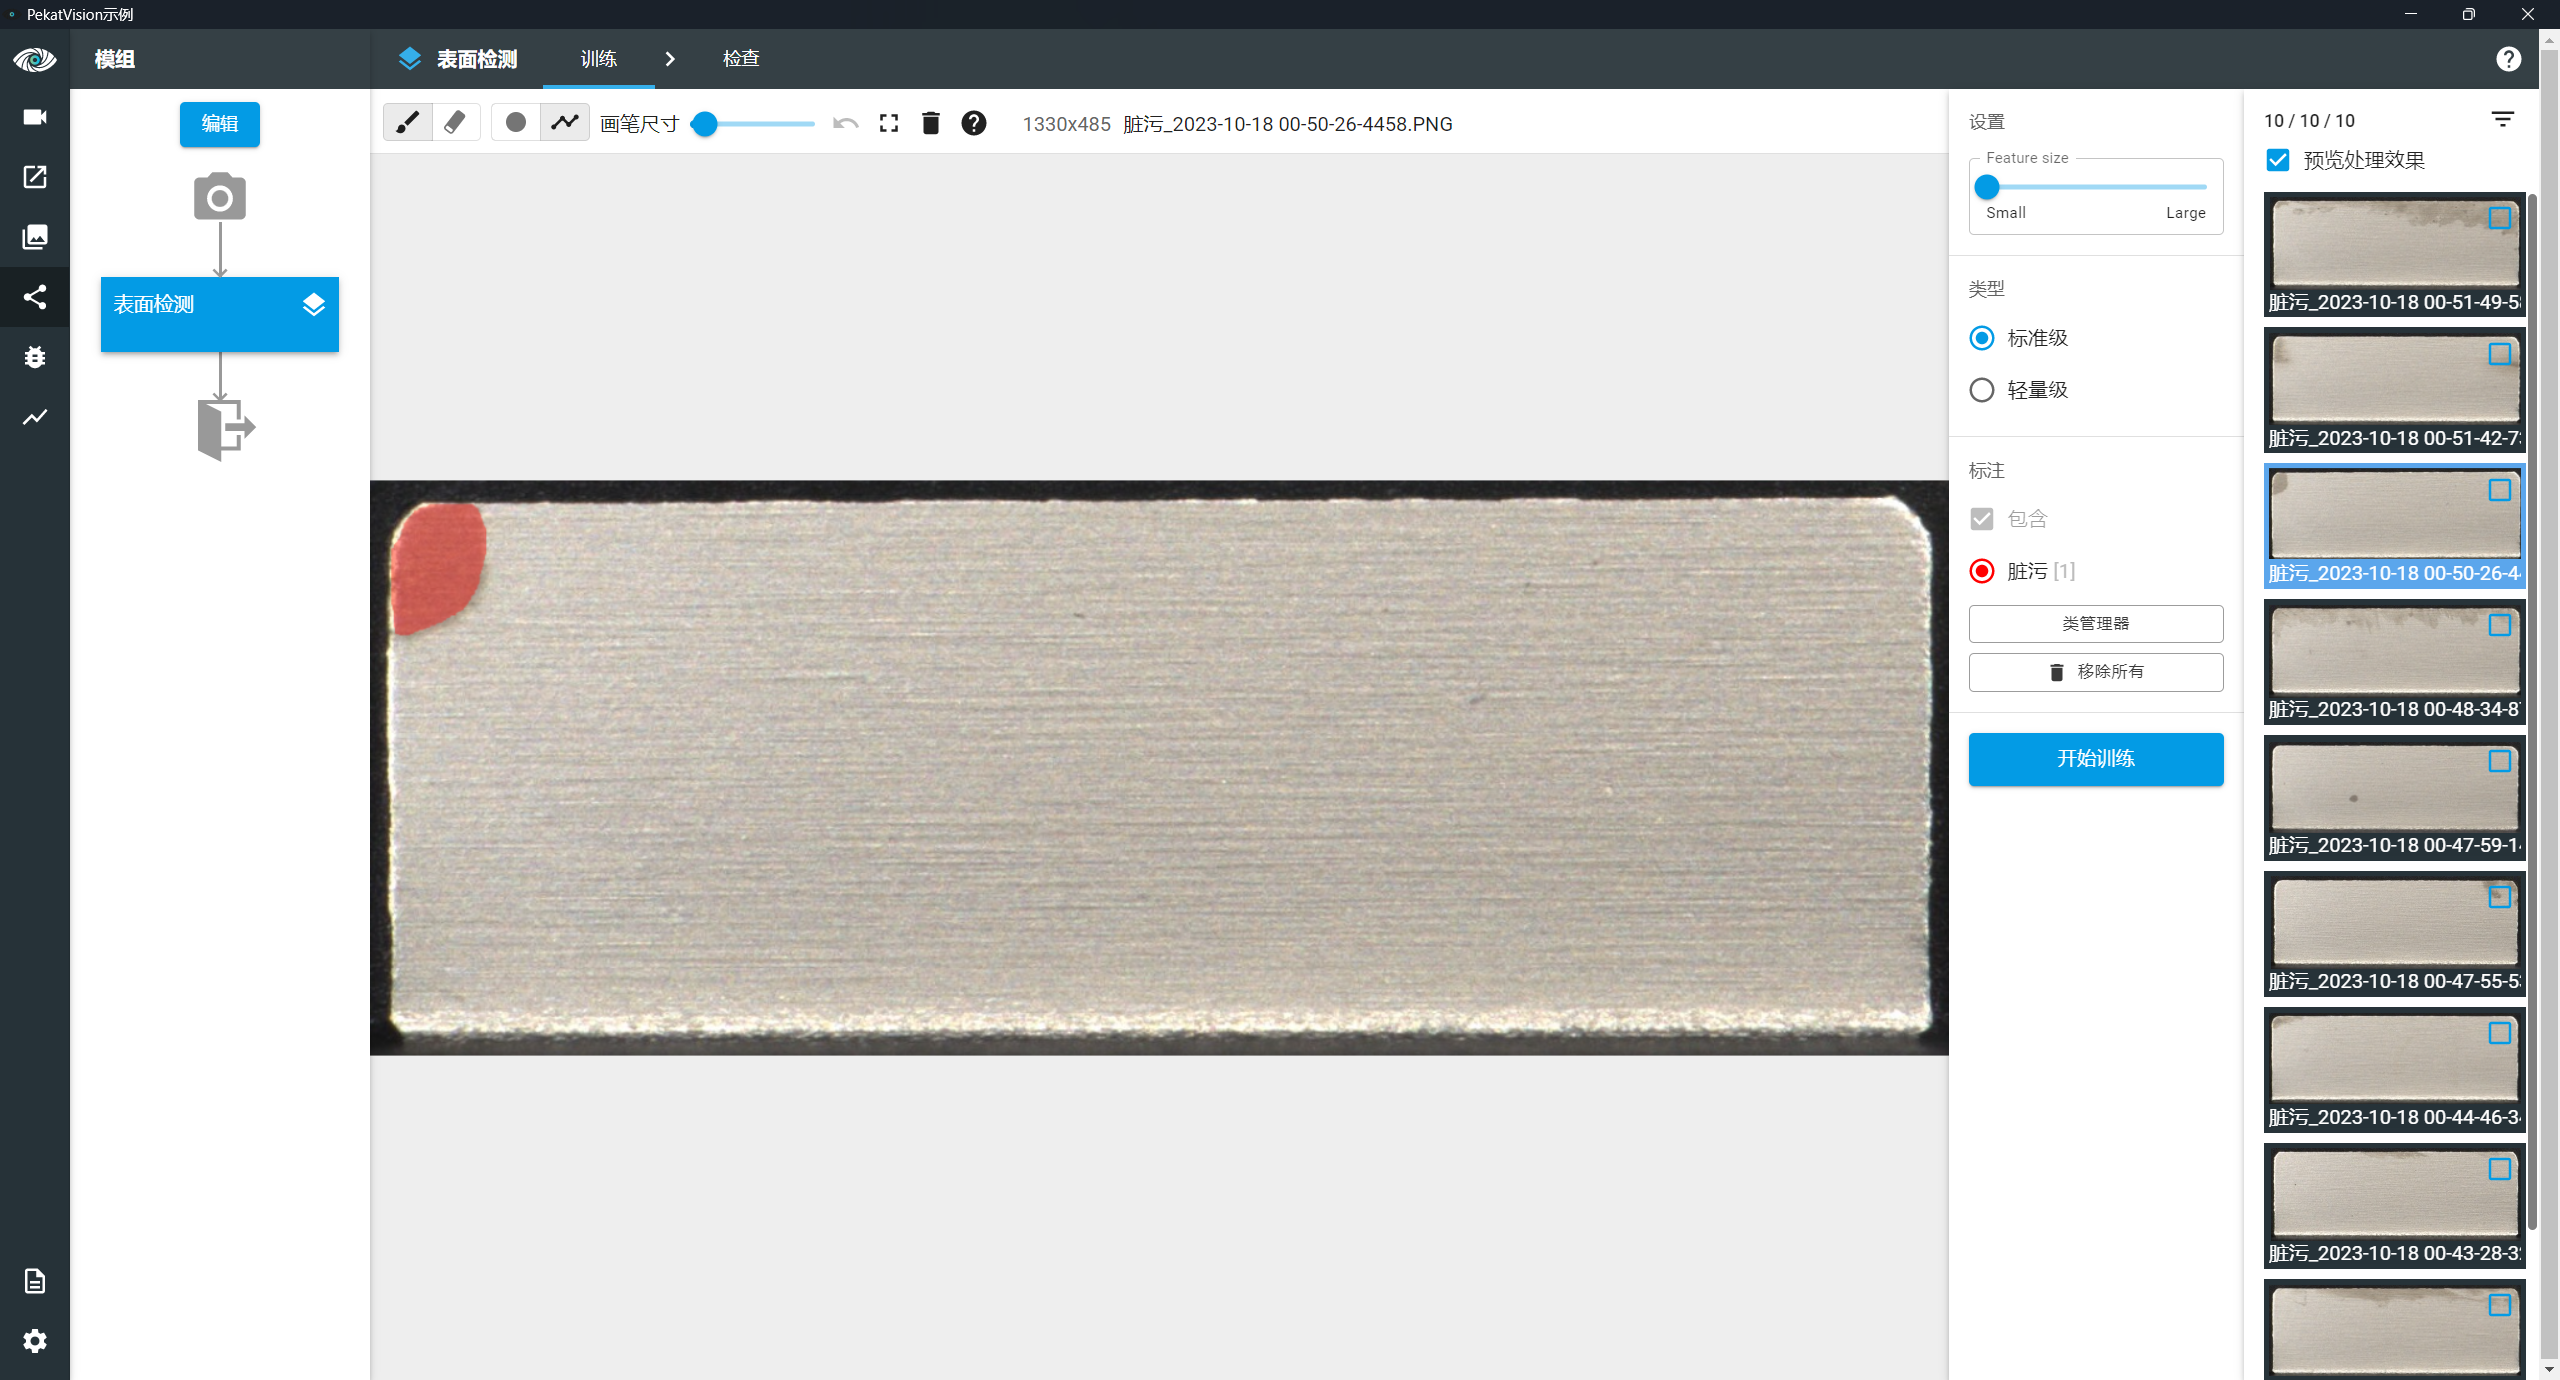
Annotation and Training
[0] Create and open a project
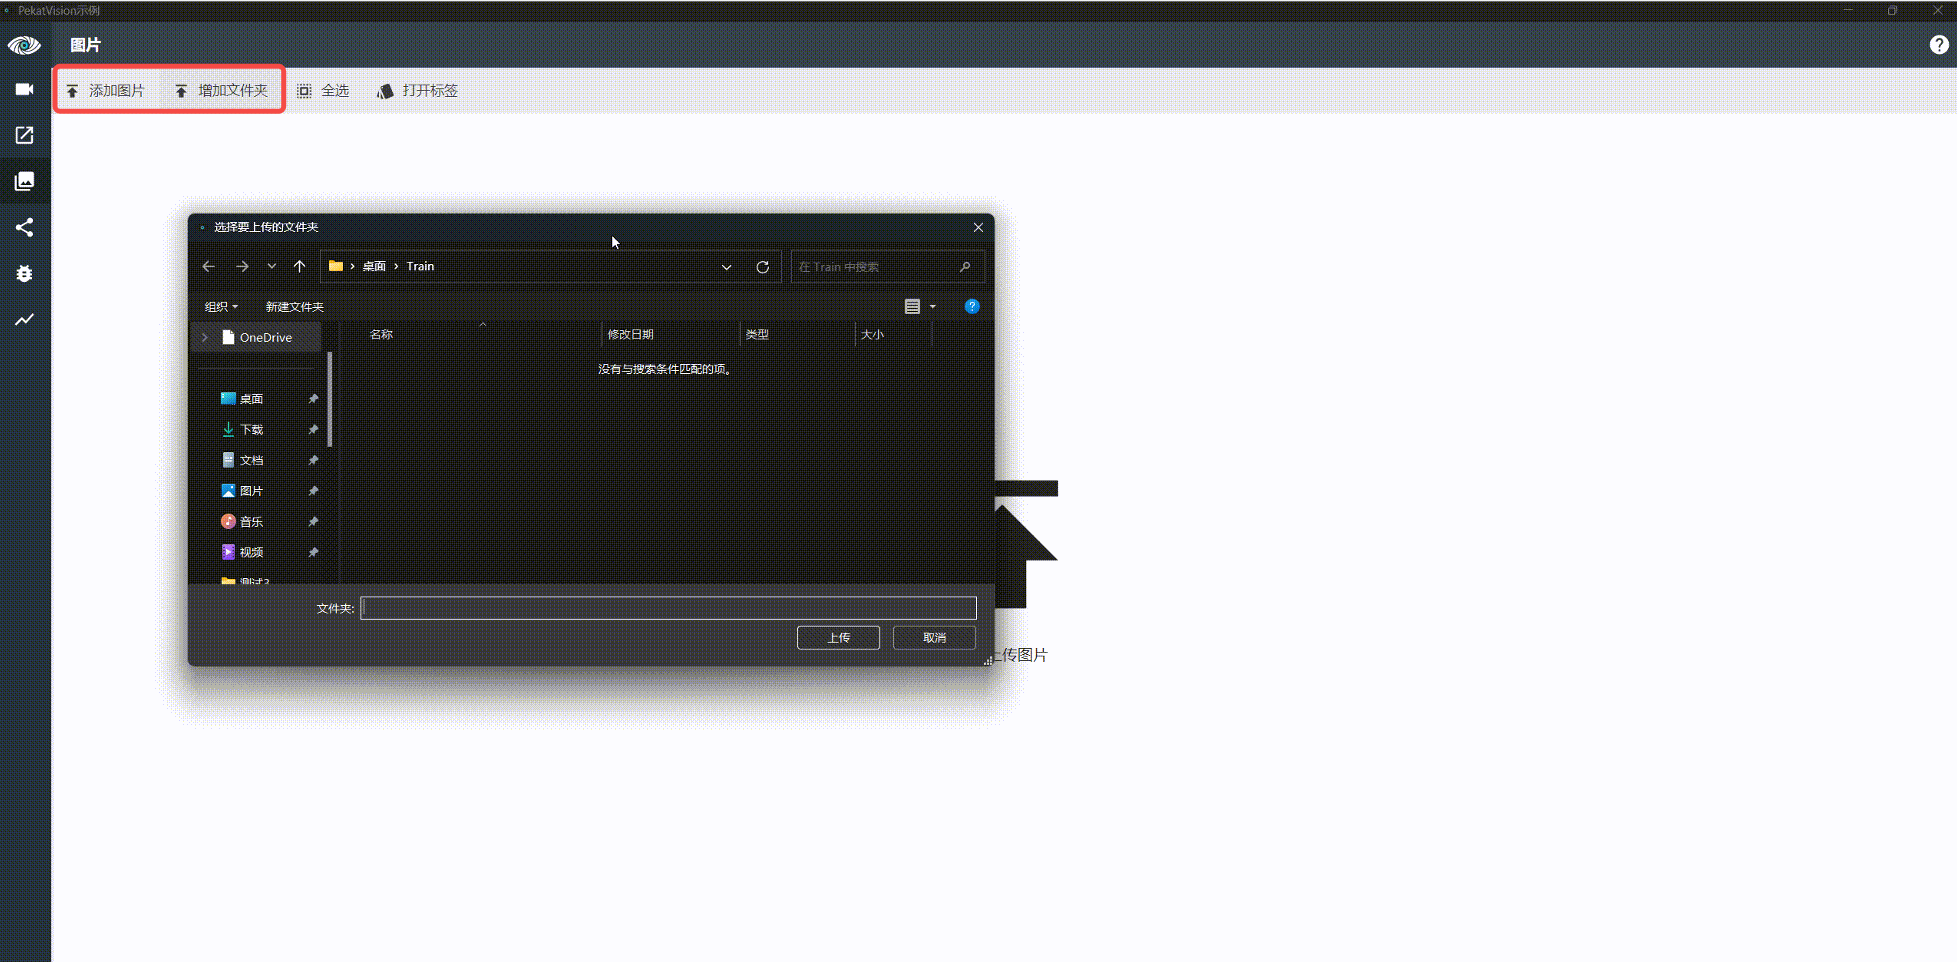
[1] Import Images
Select Import Images or Folder to import the dataset
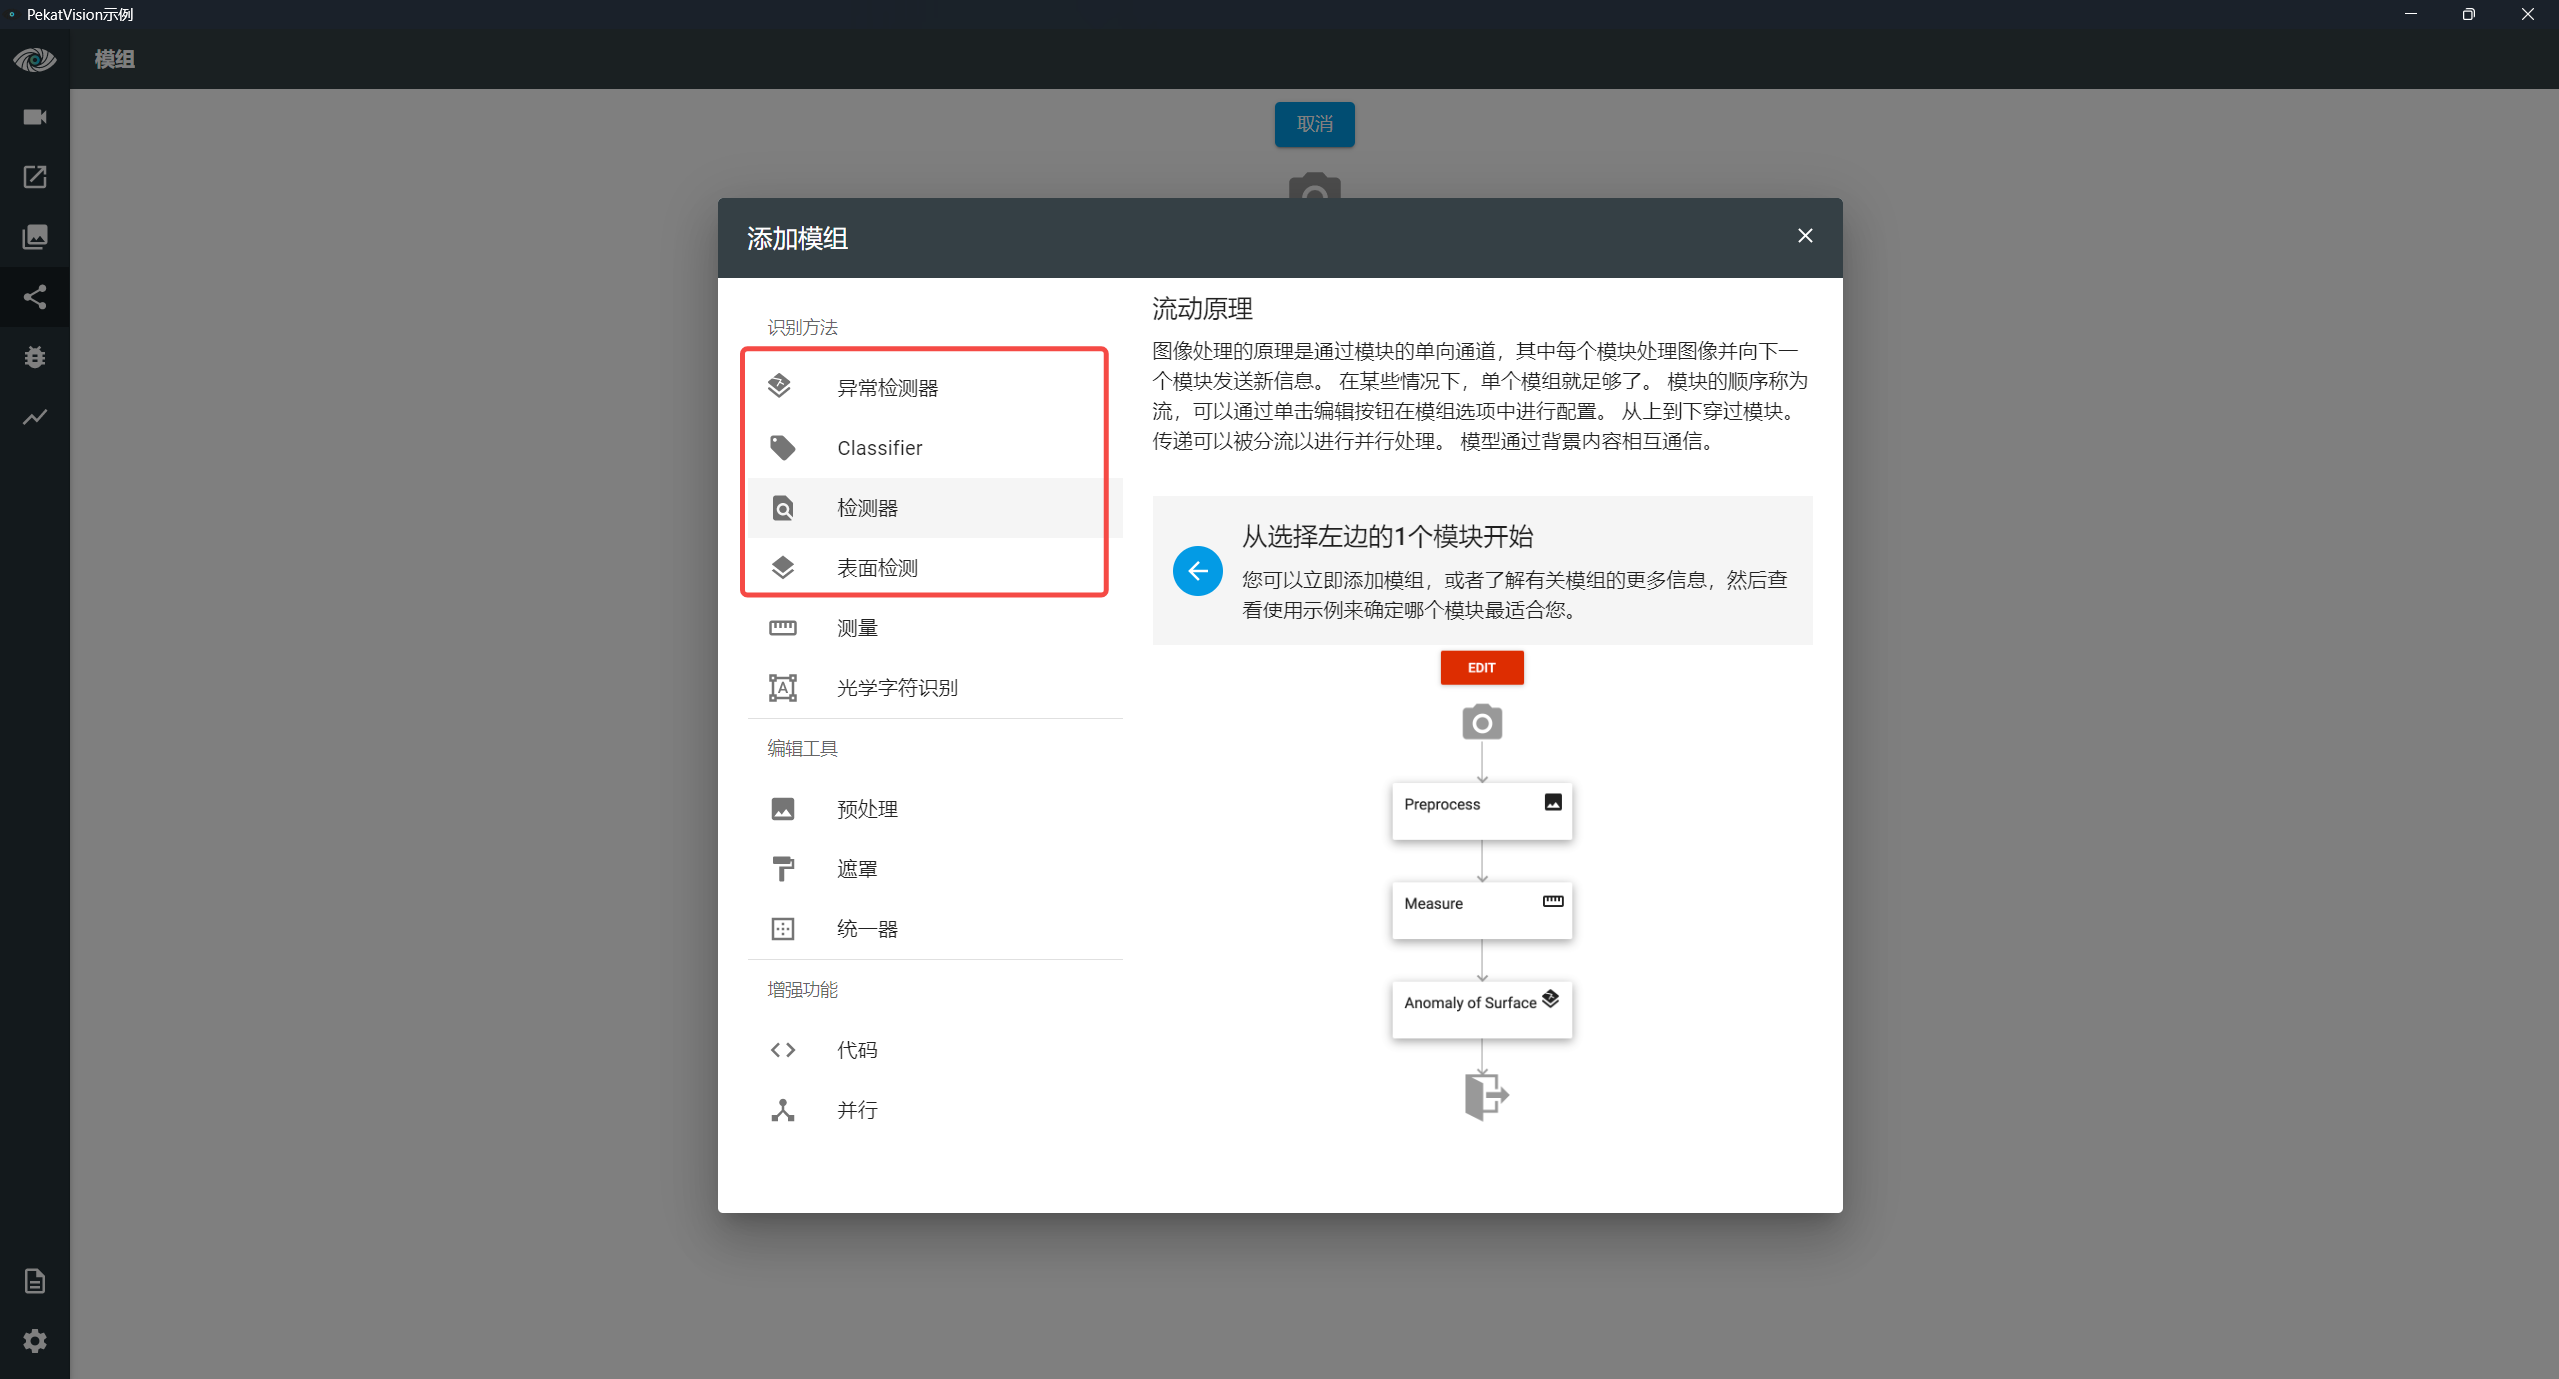
[2] Select Module
Select the corresponding module for detection
Surface Inspection: Suitable for detecting known surface defects
Detector: Suitable for detection and classification of known defects
Anomaly Detector: Suitable for defect detection with repeated surface backgrounds (only requires OK qualified images for training)
[3] Defect Annotation and Training
Enter the training interface, annotate and classify defects, then click Start Training to train the model.
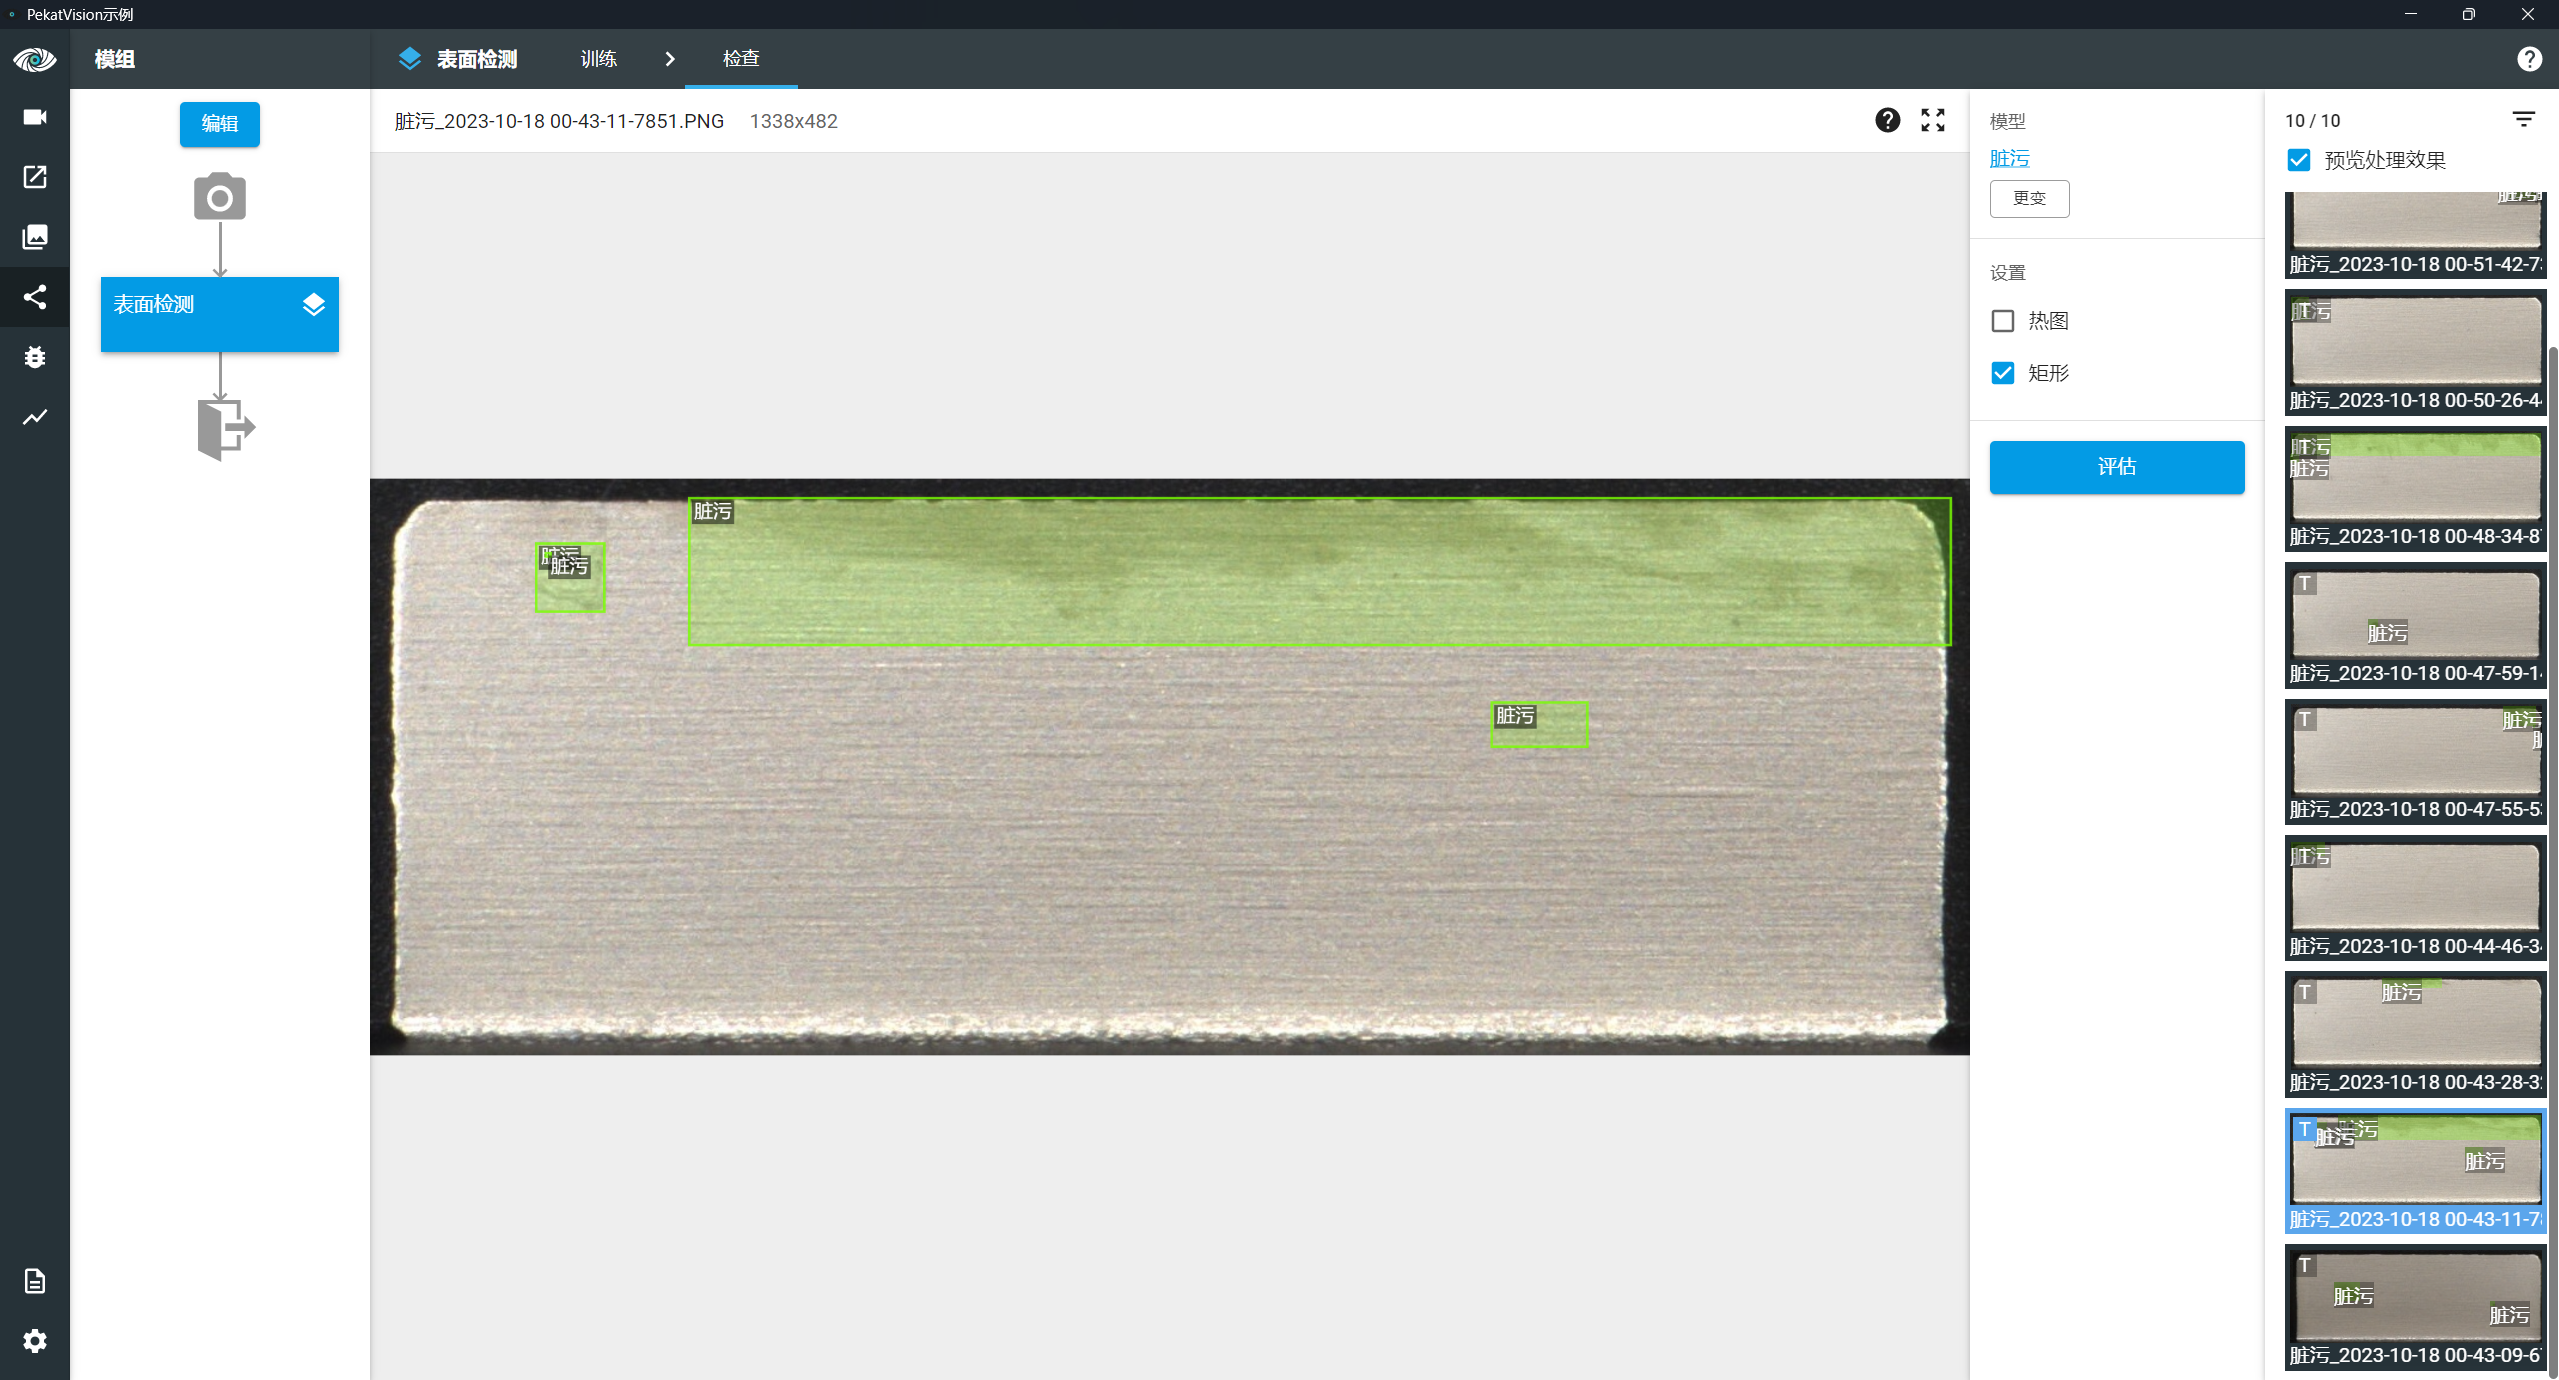
Result Viewing
Inspection
View the detection results of the corresponding model in the Inspection interface
Review
View the detection result Json string of each image after detection in the Review interface

The Json string includes the following content
Defect Position: x, y, height, width
Defect Detection Model Id: modelId
Defect Label: label